CISC/DIMA 259 Creative Coding Practices and Techniques
This course examines the application of new and emerging technologies in creative and interactive media production and development. Modern audiovisual, music, and interactive projects benefit from the use of creative coding, visual programming environments, microcontrollers, sensors, data visualization, data sonification, automated fabrication, and open source platforms. As technology advances, these tools have become more common, less expensive, and easier to use. Students will put several of these new technologies into practice through a number of assignments including a final project performed or exhibited at the end of the class. A keen sense of curiosity is suggested, but no previous electronics or coding background is required.
Meeting Times and Location Spring Semester 2025:
Lecture: Tuesday/Thursday, 15:25 – 17:00
Lab: Wednesday, 13:30 – 15:10
Location: John R. Roach Center JRC 426
‘Axioma’ – 3D projection mapping at LLUM BCN Festival 2016 in Barcelona by Onionlab
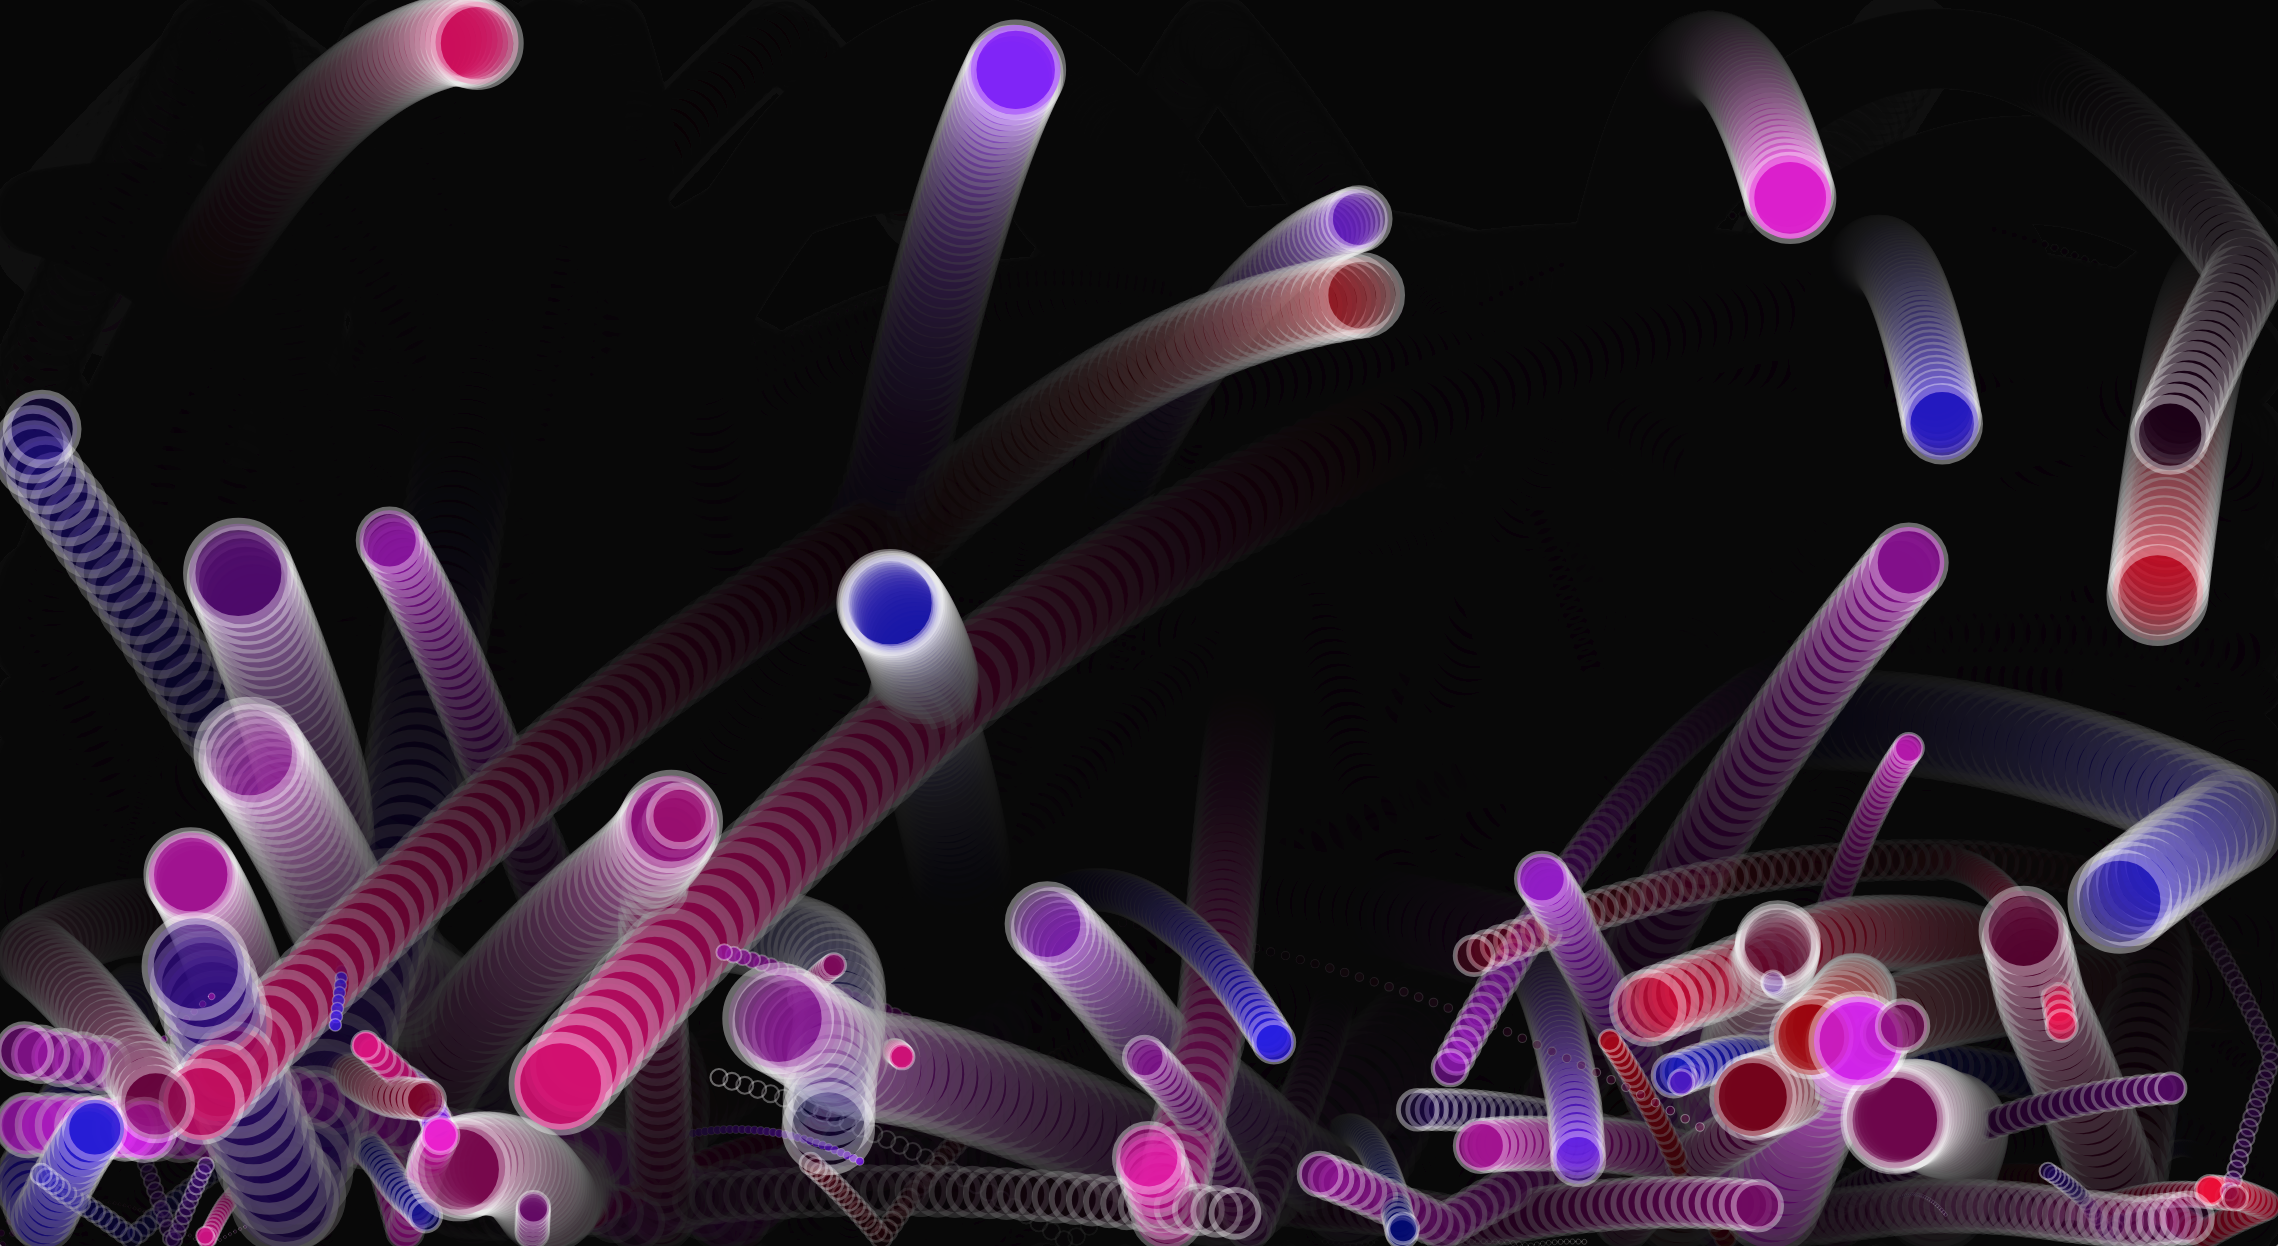
Session 1: This class is an introduction to creative coding and how these techniques are used by artists and developers to produce projects that engage audiences in magical experiences. These might be installations, projections, data visualizations, sound art, games, or entertainment.
Creative coding is a type of computer programming in which the goal is to create something expressive instead of something functional. It is used to create live visuals and for VJing, as well as creating visual art and design, entertainment, art installations, projections and projection mapping, sound art, advertising, product prototypes, and much more. – Wikipedia
Creative Coding has its roots in the demoscene which began in the 1980s and continues to this day. The Demoscene has often been described as “digital graffiti” and differres from video game demos because the demos were originally created by hackers and crackers who made them as intros to hacked versions of video games with the copy protection removed. In our first lab we’ll discuss the documentary embedded below about the Demoscene to help put the history of Creative Coding into context. Note: an archive of demos associated with demoscene collectives can be found on pouet.net.
Please prepare for the discussion by answering the following questions:
1. What three things about the Demoscene surprised you in the film?
2. After seeing the film what do you find exciting about Creating Coding?
3. Identify two techniques you saw in the film that you’d like to know more about.
The 80s and 90s Demoscene: The Art Of The Algorithms
Session 2: Creative coders believe that computer programming can be used as a medium, like clay is to sculpture, or pigments are to canvases. Let’s look at a few examples of creative coders who focus on using code to create visual work. Chrome Experiments focuses on projects that demonstrate the capabilities of the Chrome browser. These projects are coded in JavaScript and often make use of Open Source libraries. The code is generally available to browse so we can learn from it or fork the code to make a similar or entirely different project.
Dutch artist Rafaël Rozendaal, who founded BYOB (bring your own beamer), takes the idea of creating “…something expressive instead of something functional” to an extreme. Essentially he uses the web as a canvas for “paintings” that employ interaction, motion, and sound elements. Here are a few examples of his website art:
NOTE: Why JavaScript? 1) JavaScript is easy to learn yet it can still be used for advanced software development. 2) JavaScript can run almost anywhere including mobile devices, tablets, laptops, desktops, and web servers. 3) JavaScript is an open standard based on ECMAScript that’s been around for 25 years with a vast community and available resources. 4) JavaScript has been extended through many libraries and frameworks that make it easier to perform tasks like web audio, animation, front-end development, user interface design, and much more.
Lab: Today we will cover the basics of JavaScript. Using the resources above from the Mozilla Developer Network we will work our way through a basic understanding of the JavaScript language and demonstrate the techniques required for Problem Set 1: (Simple Calculator).
Problem Set 1: (Simple Calculator)
Due: Week 2, Lab 1 (3 points)
Create a simple calculator using JavaScript and HTML forms. The calculator will be capable of addition, subtraction, multiplication, division, and three more operations of your choice (square root, exponents, random number generator, sine, cosine, tangent, logarithms, etc.). Earn one point for a working calculator and two points for expanding the functions. Note: do not use the eval() function!
1. All problems sets are due by the beginning of the lab following when they were assigned.
2. Submit answers on Canvas uploaded as HTML, JavaScript, CSS, .zip or otherwise as noted.
3. Solutions to each problem set will be given during demos on the day that they are due.
Session 1: Our first project will be to create motion in the form of a bouncing ball. We will start by creating a bouncing ball using JavaScript and then we will do it again using a JavaScript library called P5.js. Before we do any of this let’s have a quick lesson in the JavaScript language and learn how to tween or animate objects using HTML5, the <canvas> tag, and JavaScript. Let’s start by going through the Canvas tutorial on the Mozilla Developer Network (MDN).
Problem Set 2: Getting Started with Canvas
Due: Week 2, Lab 2 (3 points)
Use the HTML5 canvas tag and JavaScript to place objects and images in the brower’s client area. Follow instruction in the MDN: Basic Use of Canvas documentation to draw shapes & images, apply colors, and draw text. Try different canvas dimensions x/y locations for the objects. Optional: use the setInterval() function to animate an object on the canvas.
1. All problems sets are due by the beginning of the lab following when they were assigned.
2. Submit answers on Canvas uploaded as HTML, JavaScript, CSS, .zip or otherwise as noted.
3. Solutions to each problem set will be given during demos on the day that they are due.
Session 2: Today I will show solutions to Problem Set 1 (due today). Afterward let’s take a look at rendering objects to an HTML5 canvas and start on learning how to animate objects on a canvas using the setInterval() function function in JavaScript. Let’s start by discussing the requirements for our first project. Note: Projects have more points and therefore more weight toward your final grade than problem sets.
Project 1: HTML5 and JS Animated Circle
Due: Week 4, Session 2 (Beginning of Class)
Points: 5
Part 1: using the setInterval() function, animate a circle on a minimum 500 by 500 pixel canvas within an HTML5 document. Use the example code below as a starting point. Start by making the circle bounce back from the edges of the canvas. Next clear the canvas repeatedly so that the circle appears to be animated. Try enhancing the animation by cycling the colors of the circle, either randomly, or through a range. Adjust the bounce point so that part of the circle is not hidden.
Part 1: once you have something you like, create a similar but more advanced version using the P5.js library. Using setInterval() will not be necessary for the P5.js version. We are doing the same project twice because the first time illustrates how to do it in raw JavaScript, while the second time will much easier with the aid of P5.js. Important: In the P5.js version make use of arrays to have a variable amount of circles animated (as demonstrated) and apply some of your own creative ideas NOT demonstrated in class to the P5.js version.
Requirements Part 1:
1. Use HTML5 and JavaScript to animate a circle in a minimum 500 by 500 pixel canvas
2. Clear the canvas so that the circle appears to animate
3. Cycle the colors and / or the size of the circle to enhance the animation
4. Adjust the bounce point so that part of the circle is not hidden
Requirements Part 2:
1. Rewrite the project using the P5.js library
2. Apply three more of your own creative ideas to make your project unique
3. In the P5.js version Use arrays to animate many circles at once
4. Turn in both versions as .html and .js documents on Canvas*
*Follow the instructions posted on week 1 to turn in your work correctly and remember to include all required assets and libraries
Lab: Use the lab today to experiment with P5.js and start on converting your HTML5 and JS Animated Circle to using the p5.js framework instead of using raw JavaScript.
Afterward get started on coding the HTML5 and JS Animated Circle. You can use the JavaScript below as a starting point. I will be available to answer questions and help you troubleshoot your code.
var ctx;
var dx = 5; var dy = 4;
var y = 250; var x = 250;
function draw(){
	ctx = myCanvas.getContext('2d');
	ctx.beginPath();
	ctx.fillStyle = "#00bb00";
	ctx.arc(x,y,40,0,Math.PI*2,true);
	ctx.closePath();
	ctx.fill();
	if( x < 0 || x > 500) {
		dx = -dx;
	}
	if( y < 0 || y > 500 ) {
		dy = -dy;
	}
	x += dx;
	y += dy;
}
// call a function repeatedly at a set interval
setInterval(draw,30);
Session 1: As we have seen, creating animation with pure JavaScript is promising, but can also be time consuming and cumbersome. To make this process more efficient we will unlock the animation potential of the HTML5 Canvas tag by using JS frameworks like P5js.org. Much less code is necessary when you have pre-written methods to support common motion graphic techniques, like tweens, fades, color manipulation, and transitions. This week we will explore P5js.org and learn some ways to make our projects interactive.
P5.js is based on Processing.org developed at MIT by Ben Fry and Casey Reas. The Processing language was developed to attract artists and designers to programming. It is easy to learn, yet powerful enough to create complex software like the Gesteral Music Sequencer or GMS. Here’s a list of some notable creative coding artist that use Processing or similar languages:
Lab 1: In today’s lab we will continue to look at the basics of P5js.org and start on porting the HTML5 and JS Animated Circle.
Session 2: Animating one or two shapes on a screen is one thing, but what if we wish to animate dozens or even hundreds of shapes at once? There are many ways we can do this, but let’s start by using arrays. Arrays are variables in list form. Imagine a can of soup as a simple variable, and an array as a carton of eggs. Let’s use arrays to animate more than just a few objects at once.
Lab 2: Let’s continue exploring the possibilities of arrays and how we might implement them into our HTML5 and JS Animated Circle exercises.
Session 1: Thus far we have dived into the deep end of creative coding with knowledge of few strokes to keep us afloat. Fortunately it is not possible to literally drown from learning code. We have excellent resources that expand our understanding of these languages. Let’s take a look at Object Oriented Programming with JavaScript this week. Please review Working with Objects from MDN for a more detailed explanation of how JavaScript handles OOP. We will use the ES6 object syntax:
Problem Set 3: Objects and Vectors
Due: Week 5, Lab 1 (3 points)
Use the HTML5 canvas tag and JavaScript, and P5.js to declare an object that has methods to display and move a shape. Use the mouse point position to influence the movement of the shape. Give your objects a minimum of four properties including a vector for the x/y location.
1. Problems sets are due by the next lab or the specified due date.
2. Submit answers on Canvas uploaded as HTML, JavaScript, CSS, .zip or otherwise as noted.
3. Solutions to each problem set will be given during demos on the day that they are due.
Session 2: Let’s start today by presenting your HTML5 and JS Animated Circle projects. We have looked at a simple implementation of object oriented programming, then slowly added complexity to follow the mouse position. Let’s explore more ways that we can interact to manipulate visuals using P5 such as interaction, detecting collisions, or adding/removing objects from the object pool. Here are some prompts that suggest ways to involve interaction in our projects:
Desktop / Laptop
Mouse
Trackpad
Touch Screen
Keyboard
Microphone
Camera
Mobile Phones
Microphone
Camera
Accelerometer
Sudden Motion Sensor
GPS Data
Project 2: HTML5, P5.js, and OOP (5 Points)
Due: Week 7, Session 2 (Beginning of Class)
Use HTML5, P5.js and Object Oriented Programming techniques to create multiple animated shapes on a canvas that respond to mouse movement. Try to make the shapes chase the mouse pointer, rather than follow it directly. Try rotating shapes such as rectangles or triangles to reflect the position of the mouse.
Requirements:
1. Setup your HTML5 and P5.js environment
2. Create a class with a constructor and methods to build and animate the objects
2. Use the setup() and draw() functions to animate 20 or more objects
3. Use mouseX and MouseY to cause the shapes to respond to mouse movement
4. Try rotating the shapes in response to the mouse movement
5. Try causing the shapes to gravitate toward the mouse rather than following it directly
// Simple OOP example
var sp; // Declare the object

function setup() {
  createCanvas(500, 500);
  background (25);
  sp = new Spot(200,300,100); // Construct the object
}
function draw() {
  background(0);
  sp.display();
}
// function to define a class
function Spot(xpos,ypos,diameter) {
  // Construct the object
  this.x = xpos;
  this.y = ypos;
  this.d = diameter;

  // method to display the object
  this.display = function() {
    ellipse(this.x,this.y,this.d,this.d);
  }
}
Lab 2:In today’s lab let explore vectors and OOP as they might apply to Problem Set 3 and Assignment 2.
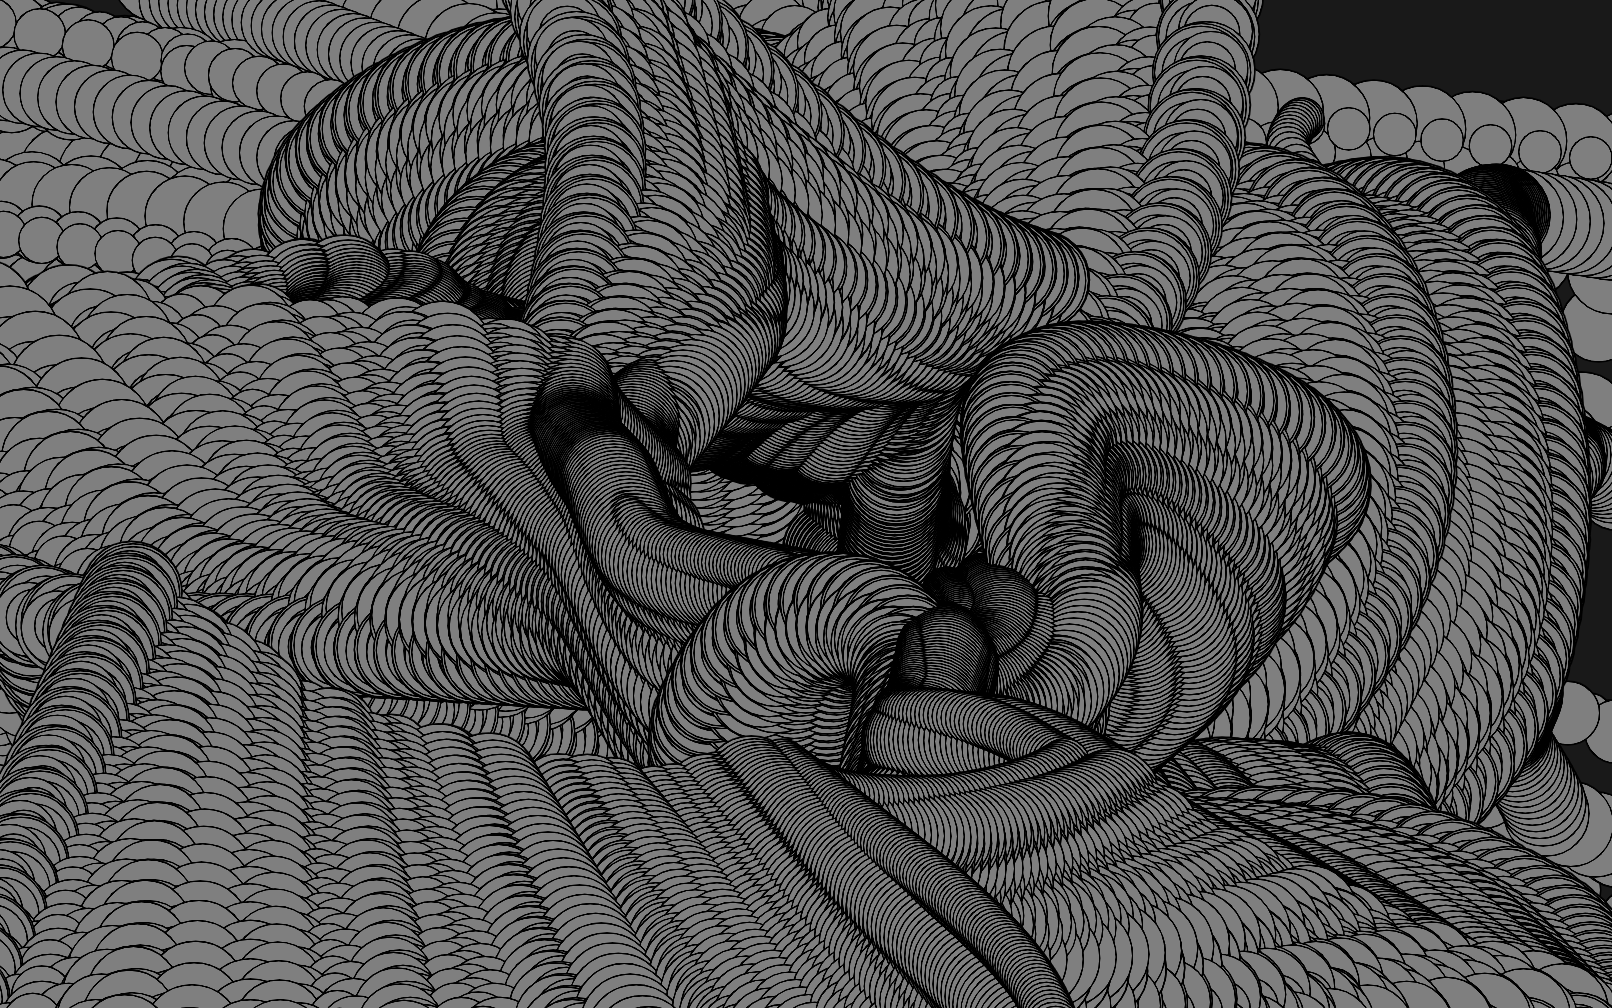
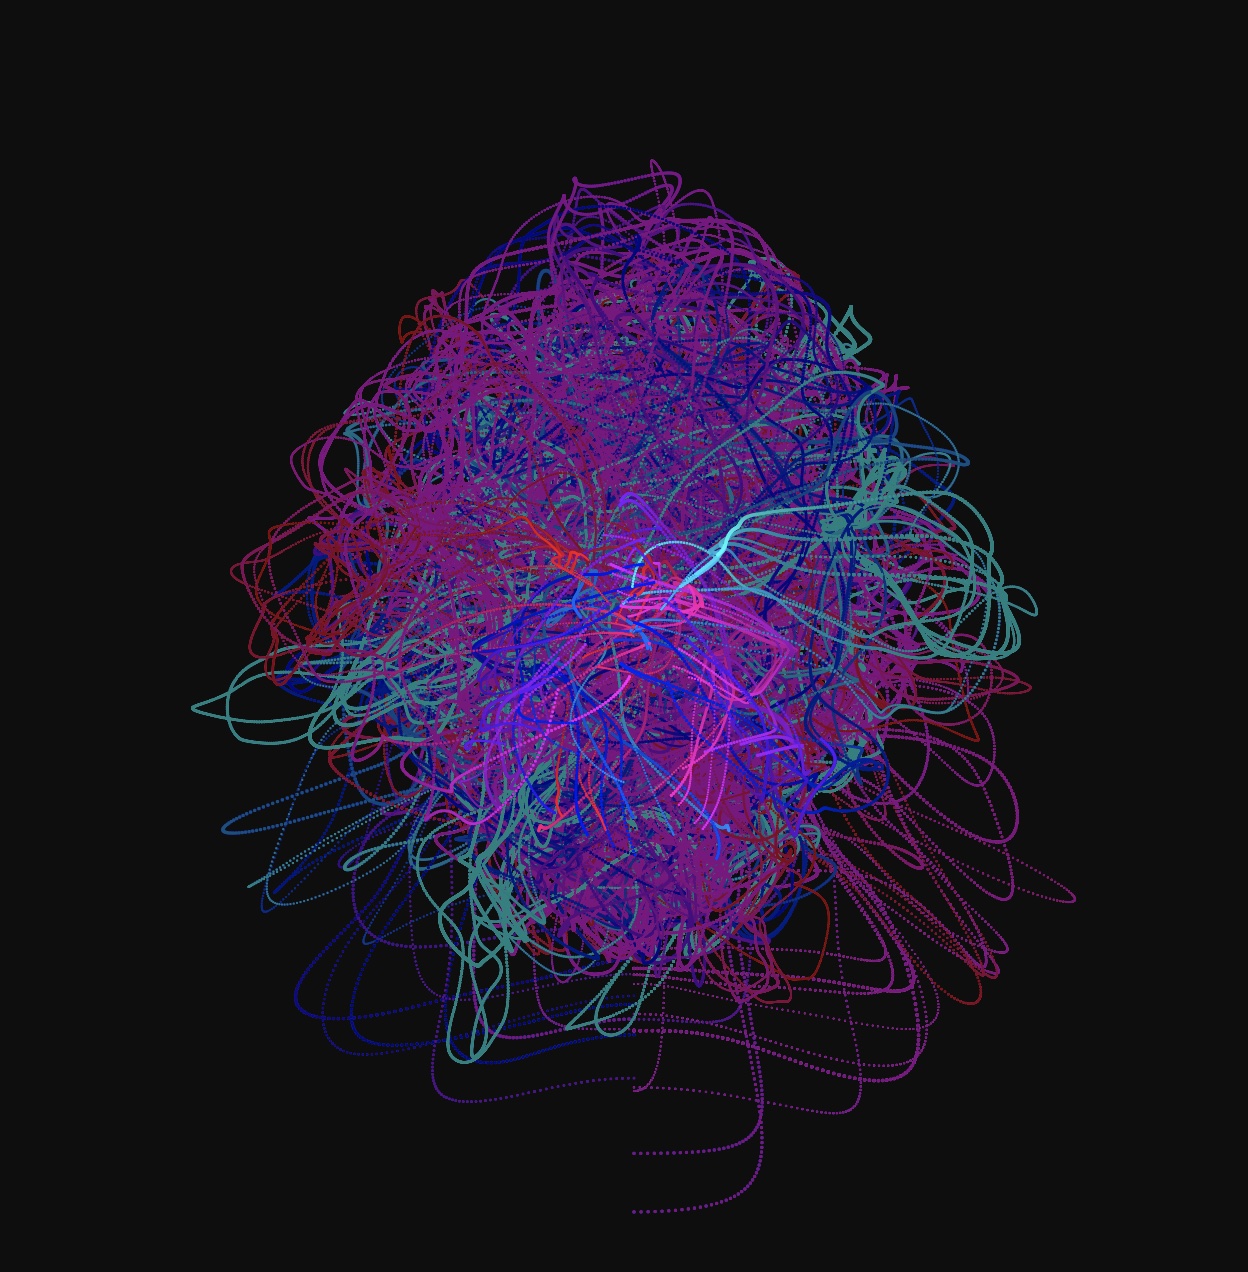
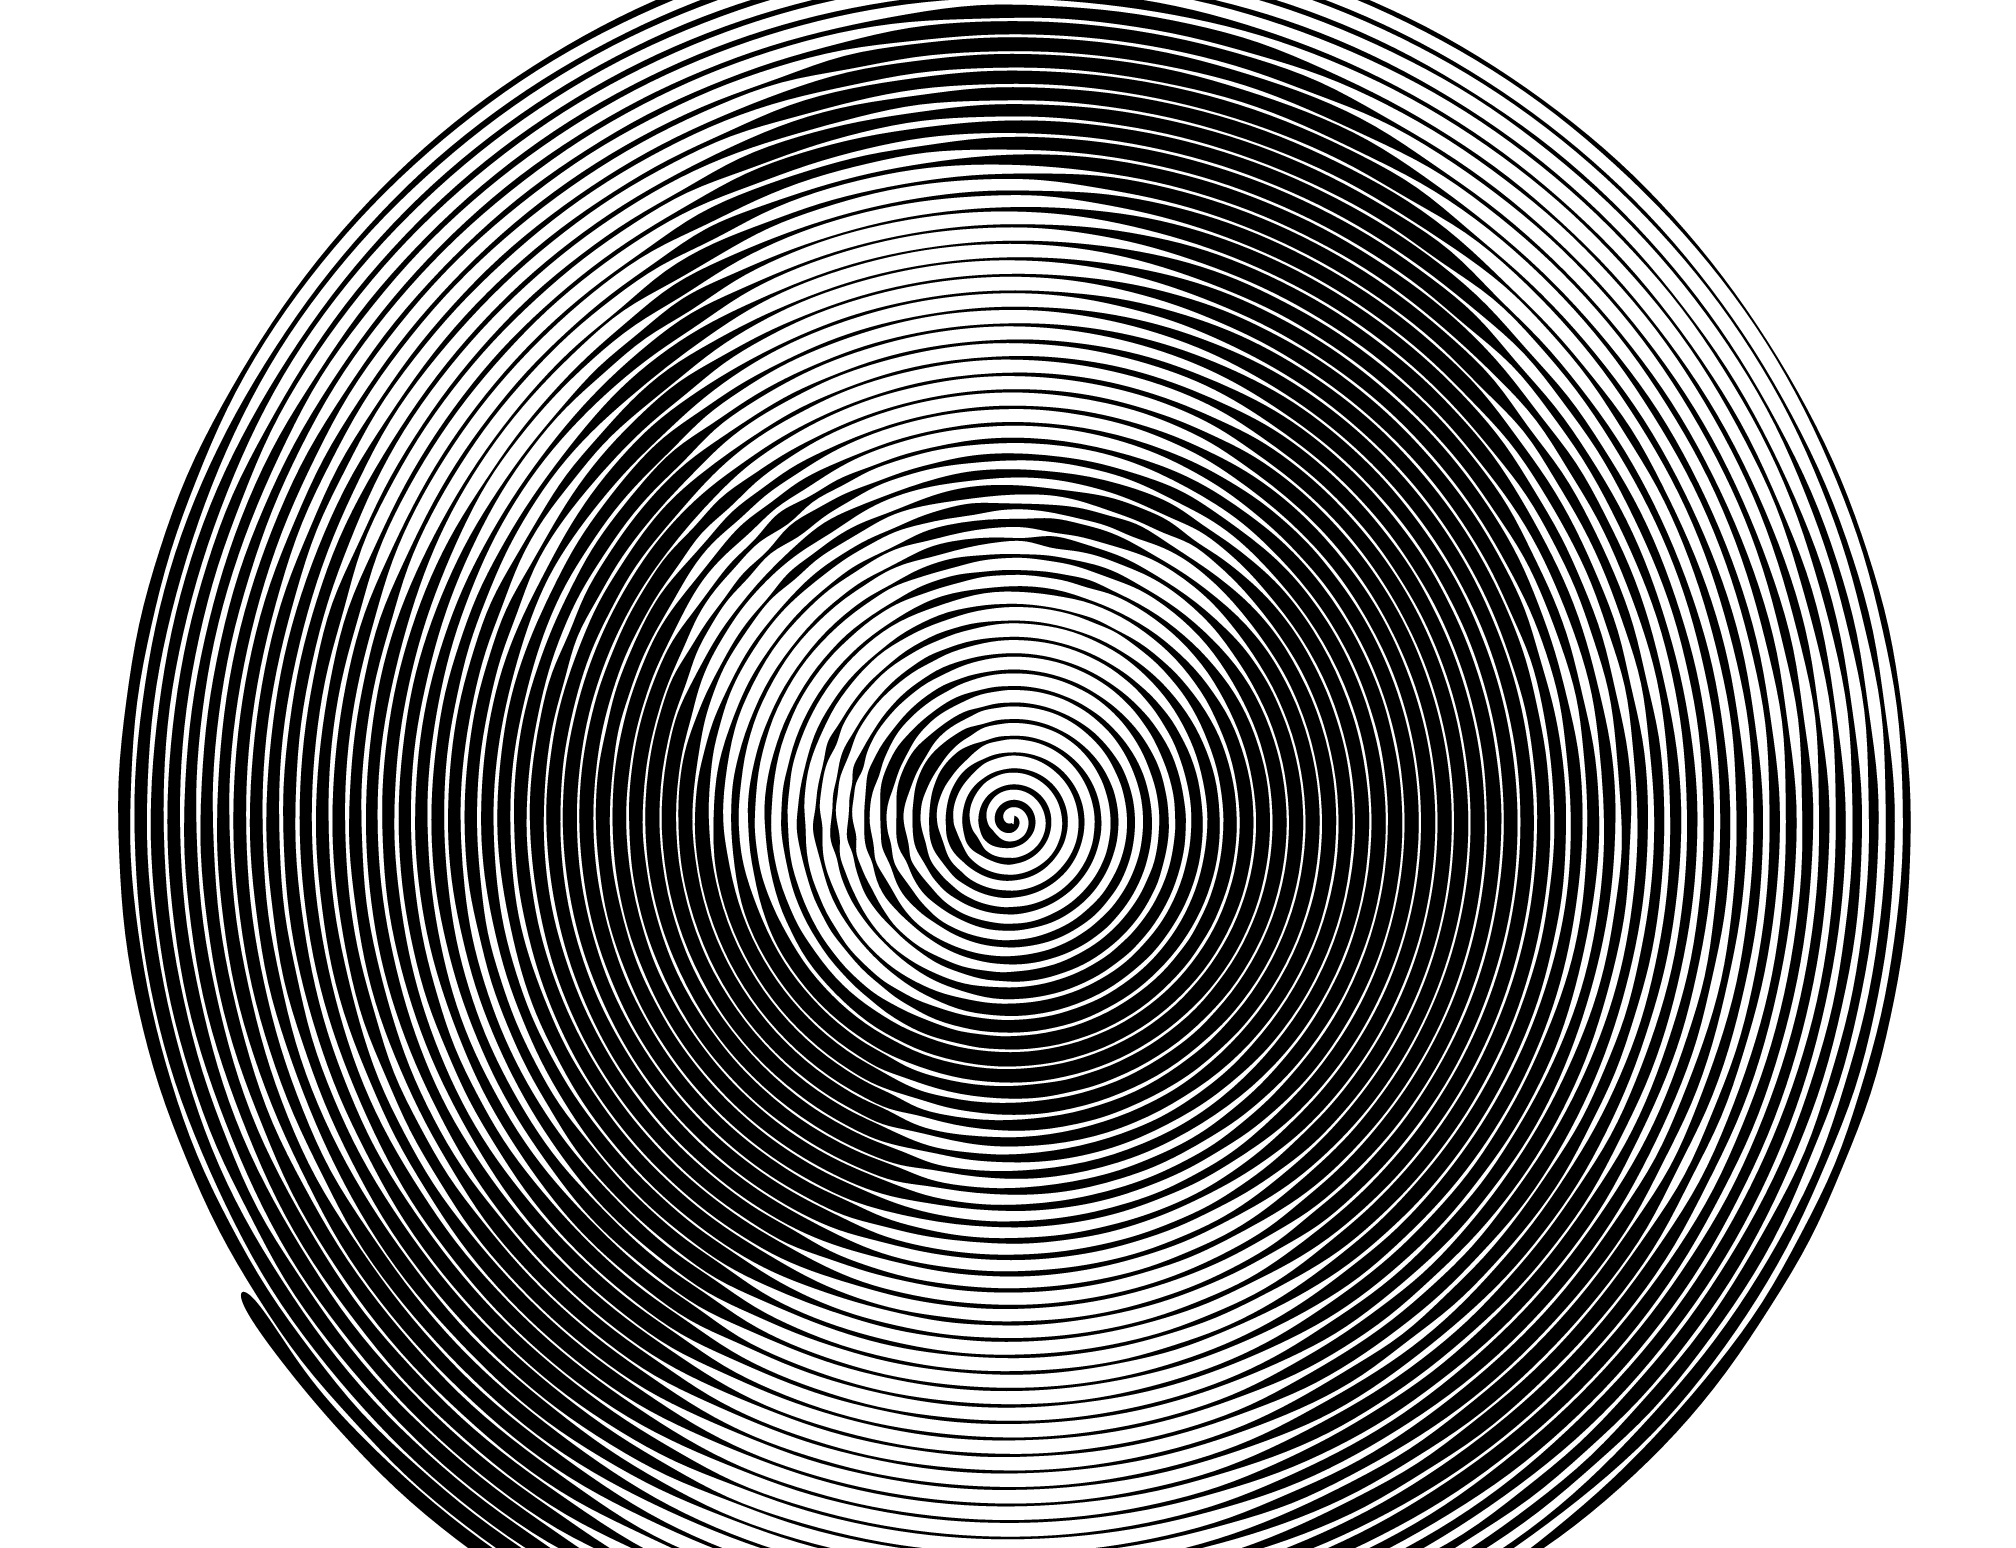
Session 1: Today let’s discuss several P5 functions that allow up to get random values, and the map function which allows us to constrain values to specified ranges. In particular we will start to examine Perlin Noise, named after Ken Perlin.
Lab 1: Let continue exploring randomness and Perlin Noise today during the lab.
Problem Set 4: Random vs. Perlin Noise
Due: Week 6, Lab 1 (3 points)
Use the HTML5 canvas tag and JavaScript, and P5.js to explore the noise function in P5. Try making an object or objects(s) follow a path determined by noise, or mapping / graphing coordinates. Use mouse/trackpad interaction to influence the behaviors.
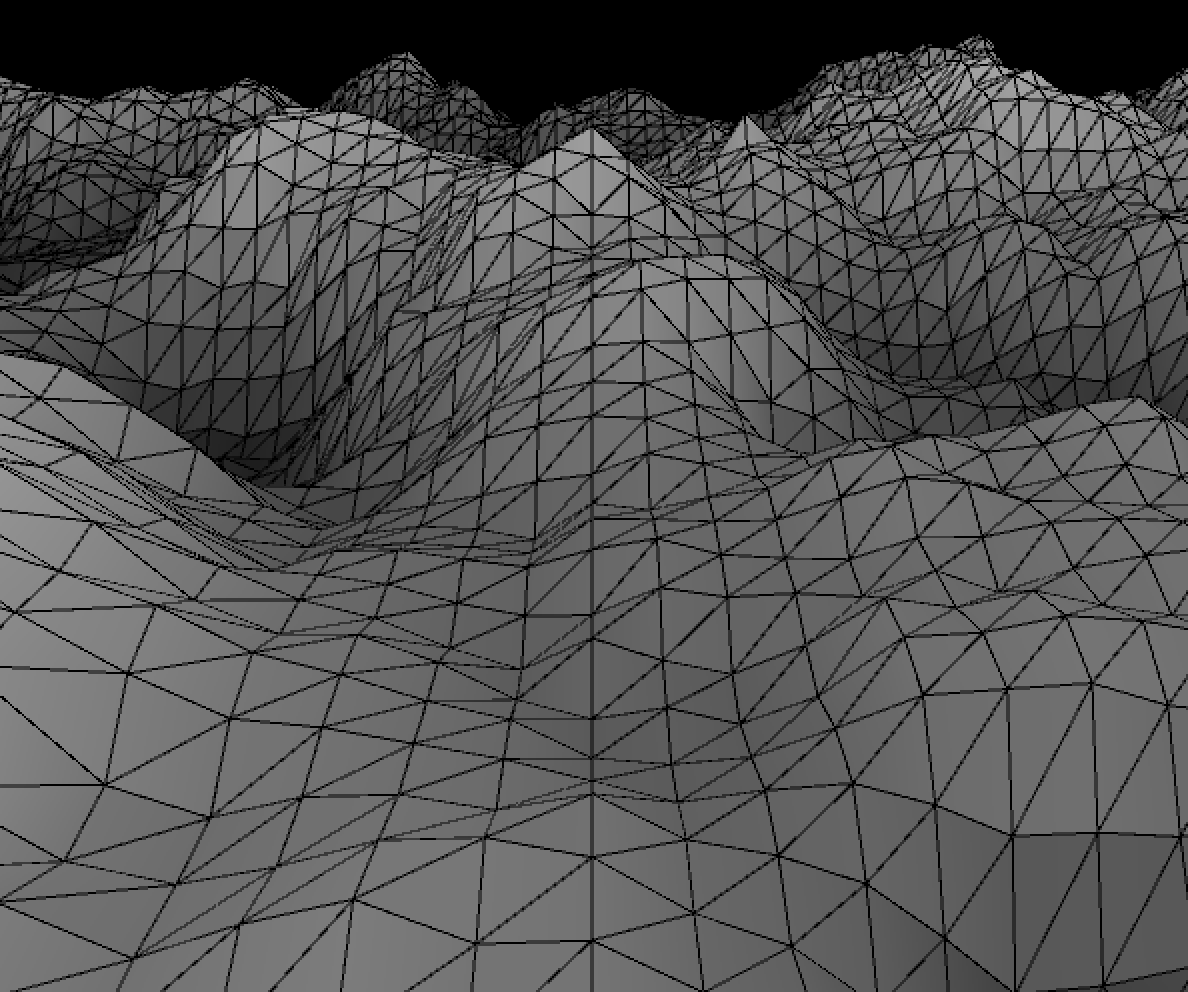
[noise] Returns the Perlin noise value at specified coordinates. Perlin noise is a random sequence generator producing a more naturally ordered, harmonic succession of numbers compared to the standard random() function. It was invented by Ken Perlin in the 1980s and been used since in graphical applications to produce procedural textures, natural motion, shapes, terrains etc.
1. Problems sets are due by the next lab or the specified due date.
2. Submit answers on Canvas uploaded as HTML, JavaScript, CSS, .zip or otherwise as noted.
3. Solutions to each problem set will be given during demos on the day that they are due.
Session 2: Today let’s look at ways in which we might apply Perlin Noise to arrays of objects.
Lab 2: Let’s expand out Perlin Particles to using two dimensional Perlin Noise.
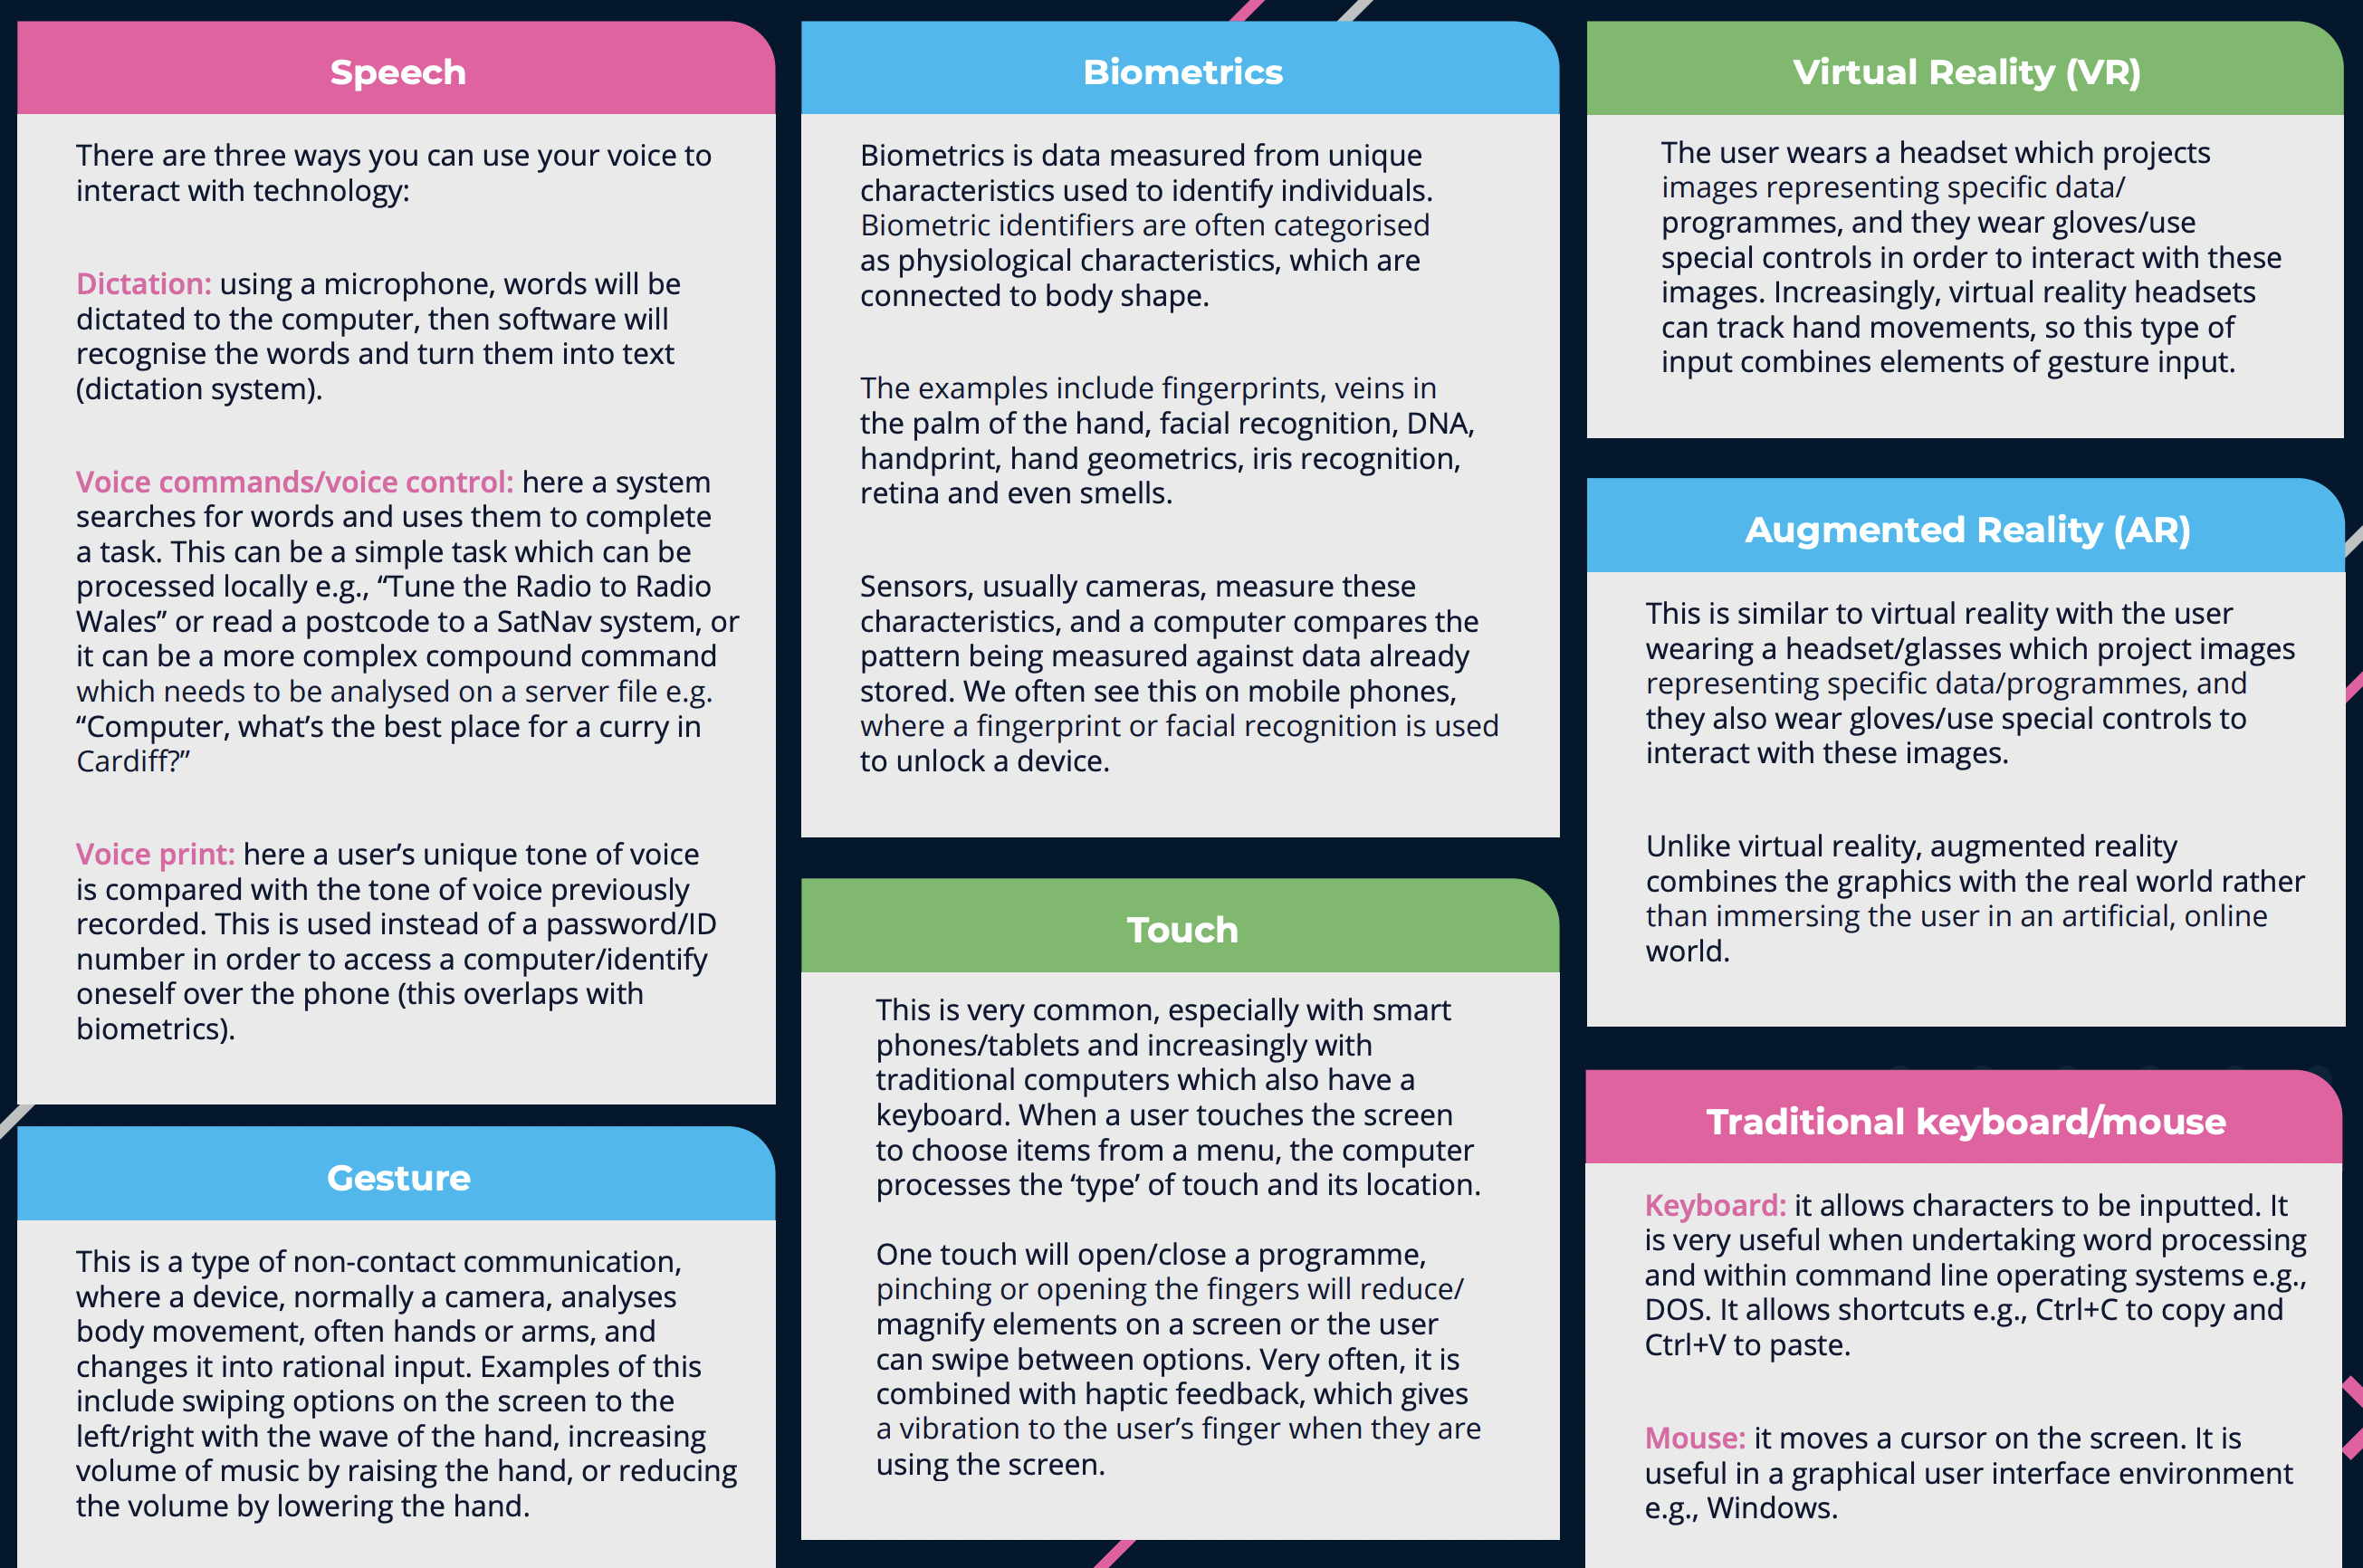
Session 1: This week we will begin looking at how to implement several sources of interaction. So far we’ve looked at mouse / trackpad controls. Now, let’s take a look at using HTML forms to control objects on an HTML5 canvas. Form fields include text input, radio buttons, checkboxes, drop down lists, and textfields. The P5js library has a DOM section that allows for the listening, selection, and creation of HTML form fields.
Problem Set 5: Using HTML Forms to Control the Canvas
Due: Week 7, Lab 1 (3 points)
Use the HTML forms and P5.js to enable a minimum of five input types that control the canvas. Consider using text fields, radio buttons, checkboxes, select lists, and range sliders. For example: a text field might control the number of objects displayed, a checkbox might be used to pause/unpause or reset the animation, and a slider could be used to adjust the speed, size, or color of the animated object(s).
1. Problems sets are due by the next lab or the specified due date.
2. Submit answers on Canvas uploaded as HTML, JavaScript, CSS, .zip or otherwise as noted.
3. Solutions to each problem set will be given during demos on the day that they are due.
Session 2: Today we’ll start by looking at your HTML5 and P5.js OOP projects. Afterward let’s take a look at DAT.GUI and other JavaScript GUI Libraries.
Lab: Today I will demonstrate what’s required to complete Problem Set 5 and answer your questions. We’ll also continue looking at DAT.GUI and its alternatives. Next week we will dive into using sound and video as a source of input.
Session 1: This week we will begin exploring sound as media for creative coding. This area is fascinating, expansive and allows for sample playback, recording, signal processing, and sound synthesis. One of the best ways to get started with sound is through the Web Audio API. The Web Audio API is quite complicated to use, but P5js includes the p5.sound library that simplifies many typical uses for audio. Here are some P5js examples:
Assignment 3: Interactive Experiment (9 Points)
Due: Session 2, Week 9 (Beginning of Class)
Use HTML5 and P5.js to make a visual application that includes a graphical user interface (UI) and responds to a minimum of three of the following input methods: 1) Sound pressure levels (SPL) and/or frequencies (Hertz) sensed by a microphone. 2) Prerecorded audio files or sound synthesis/sequencing. 3) Video signals captured through a webcam. 4) Prerecorded video files. 5) Keyboard, mouse, trackpad, or touch data. Requirements:
Setup your HTML5 and P5.js environment
Create a user interface for your application that has three or more input methods
Use at least three of the following six input methods to interact with the piece:
Sound pressure levels (SPL) and/or frequencies (Hertz) sensed by a microphone
Prerecorded audio files
Video signals captured through a webcam
Prerecorded video files or sound synthesis/sequencing
Mouse, trackpad, or touch data
Keyboard input
Use the setup() and draw() functions to animate objects that respond to the inputs
Try rotating the shapes in response to the mouse movement
Try using the interface to effect color, dimensions, and velocity
Lab 1: Today we will continue exploring the p5.sound library.
Problem Set 6: P5js and Sampled Sound
Due: Week 8, Lab 1 (3 points)
Use the Web Audio API via the p5.sound library to explore sampled sound in conjunction with the HTML5 canvas. Start by playing a sound during an animated event, such as an object changing direction when reaching the canvas borders. Layer sounds so that environmental ambience is heard in the background. Compare the “sustain” and “restart” play modes.
1. Problems sets are due by the next lab or the specified due date.
2. Submit answers on Canvas uploaded as HTML, JavaScript, CSS, .zip or otherwise as noted.
3. Solutions to each problem set will be given during demos on the day that they are due.
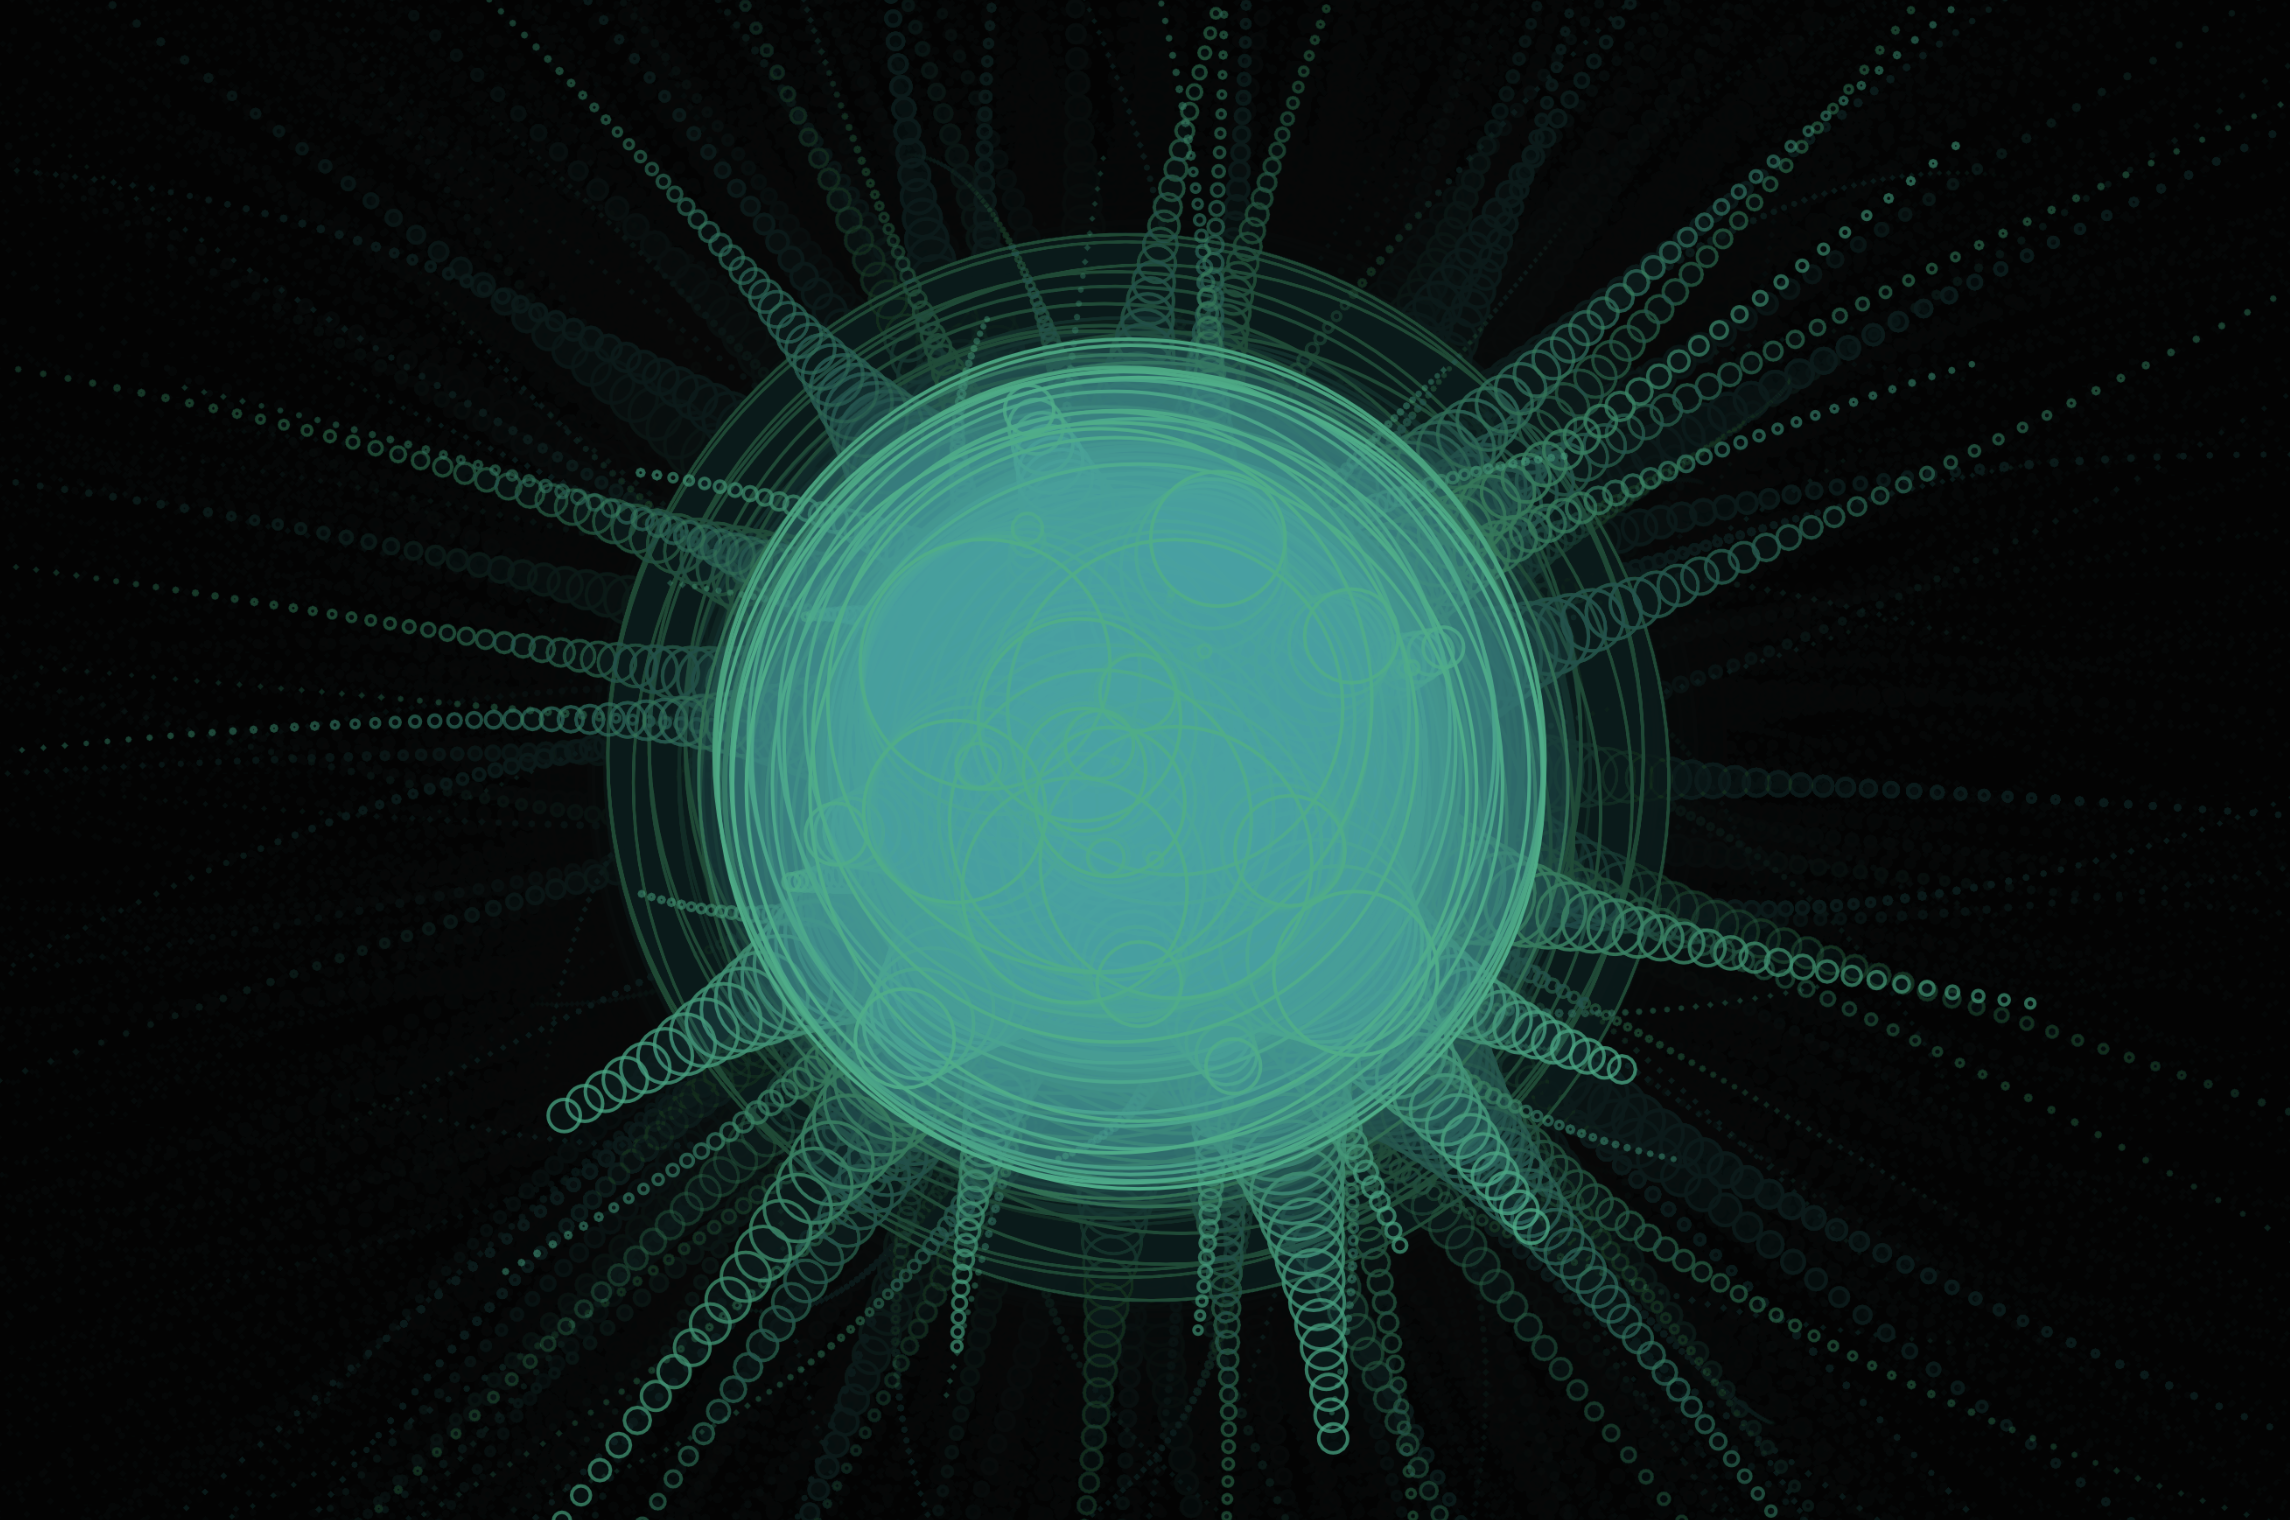
Session 2: A frequent technique for visualizing audio involves translating the amplitude or dynamics of an audio file into a form of animation synchronized with playback. This is generally referred to as music visualization. Music visualizers like the example above are everywhere and getting easier to produce while becoming more sophisticated like the examples on Butter Churn Viz, an adaptation of the MilkDrop plugin. To find sounds for events, background sounds, music, and other sound effect use Freesound.
Lab 2: After presenting Project 2: HTML5, P5.js and OOP Today I’d like to hear from each of you about your ideas for the Interactive Experiment.
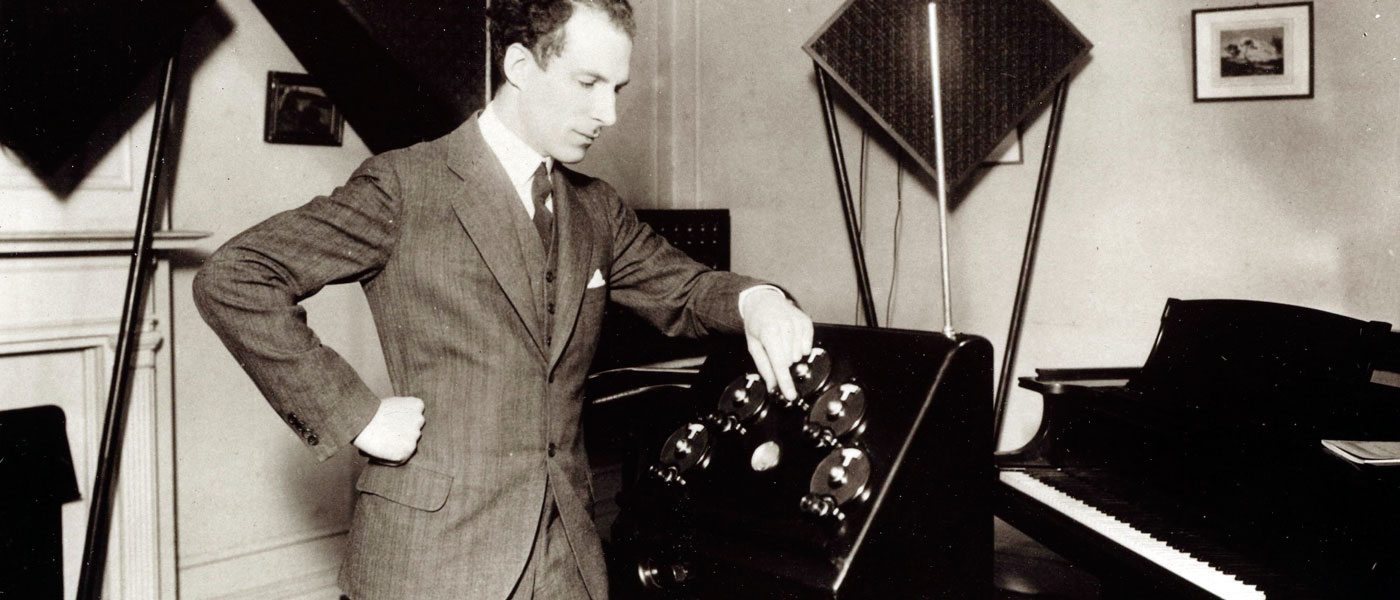
Session 1: Making a digital Theremin is akin to making a “hello world” script when it comes to programming sound. The Theremin is one of the only musical instruments that does not require the artist to touch it. Instead hand gestures near the device determines the pitch and amplitude of a synthesized waveform. We can easily replicate this process by using the mouse or trackpad axes to change the frequency and amplitude of a modeled waveform.
Lab 1: Let’s continue experimenting with sound synthesis techniques.
Session 2: A common and popular way to make music electronically is step sequencing. Step sequencers are an accurate and rigid way to program musical phrases. Composers simply click boxes to add notes to a sequence. The advantages of simplicity and ease of use make step sequencers a ubiquitous technique in electronic music. The disadvantage is that the mastery and expression possible with an instrument like the Theremin isn’t possible with simple step sequencers. A simple step sequencer usually has a predetermined set of pitches. These can be stored as frequency values in an array. Usually the frequencies are organized into a scale so that the sequences result in consonant instead of dissonant melodies.
Lab 1: In lab today we will look more at synthesizing and sequencing sound.
Lab 1: In lab today let’s try porting one of your p5.js projects into Processing. Let’s also take a quick look at microphone and video input with p5.
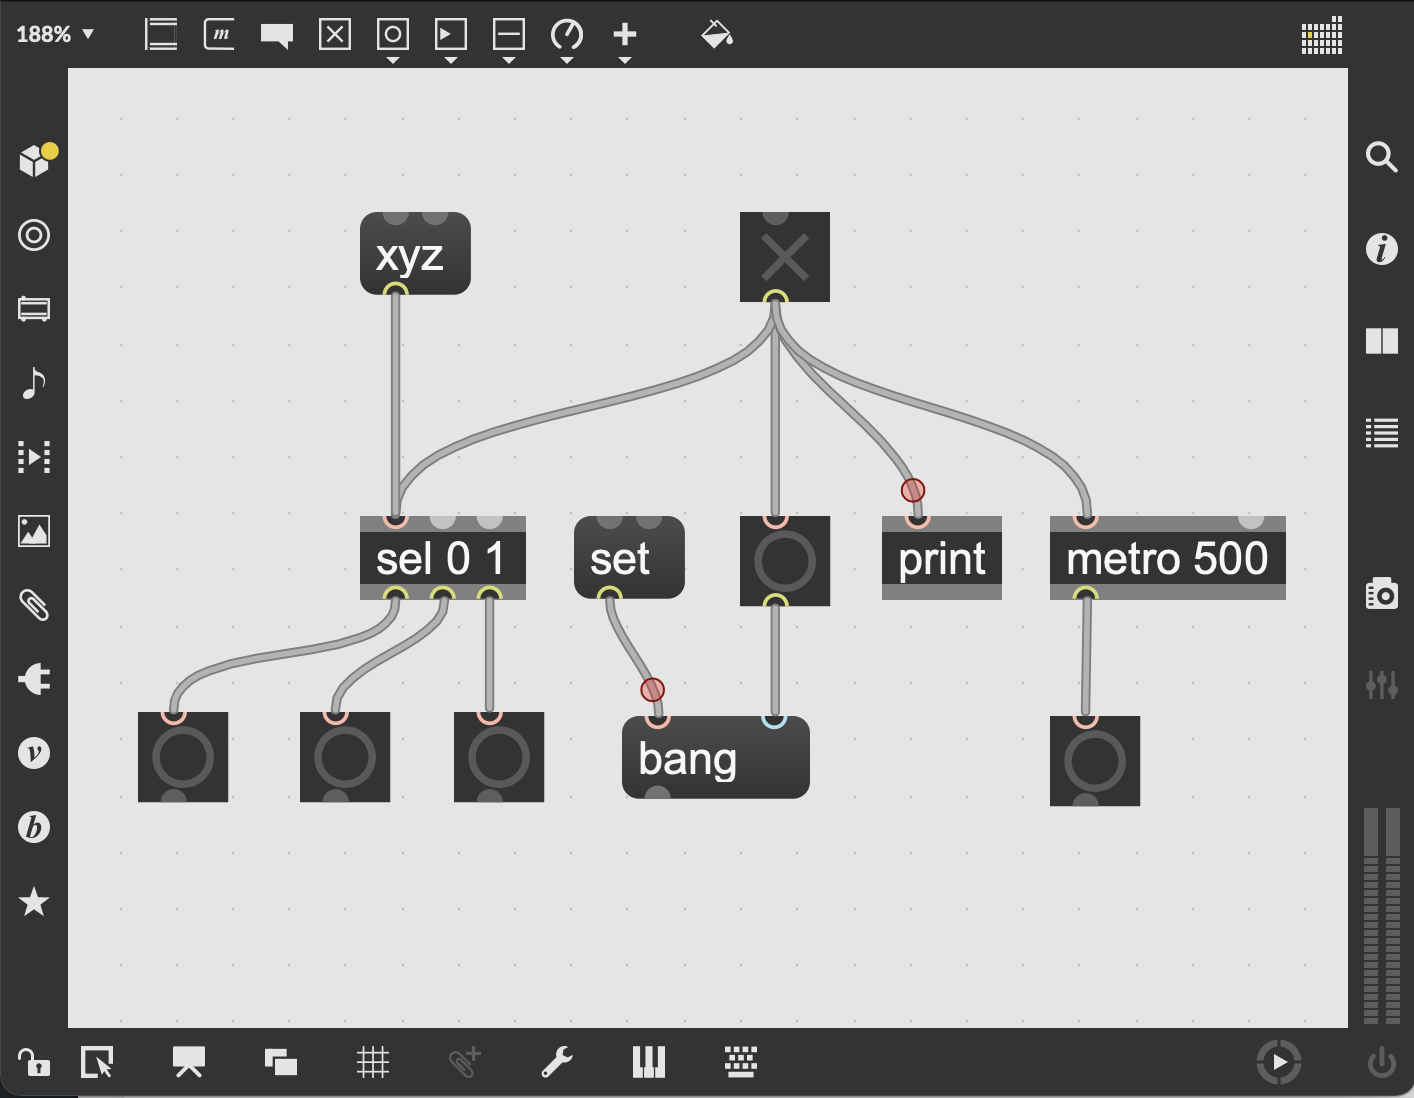
Session 2: Today let’s let start by presenting your Assignment 3: Interactive Experiment projects. This may take most of the class period, but if there’s time left, we will take an introductory look at Max. Max is a visual programming environment with a history of over 30 years starting with Miller Puckette in the 80s.
Session 1: Today we will look at some examples in Max from Cycling ’74 and demonstrate some of the basics. I started a software company called ACB Soft that uses Max as the primary development platform for the applications. I have also used Max for various art installations and musical performances. I will share some of these examples today as well as demonstrate a few of the ways that Max can be used.
Assignment 4: Interactive Creative Coding Final Project (15 Points)
Due: Finals Period (Beginning of Class)
Use one of more of the technologies demonstrated in class to build an Interactive Creating Coding project that realizes ideas and/or concepts of your own that you find interesting. JavaScript, P5.js, Max, and Arduino are all available platforms, but other may be considered. In order to make your project interactive consider using sound, video, keyboard, mouse/trackpad, motion sensors, photo diodes, photo resistors, thermostats, datasets, streaming data, or other methods / sensors. Projection, animation, generative behaviors, Perlin Noise, data visualization, and data sonification are all possible avenues for your ideas.
Requirements:
1. Use JavaScript, P5.js, Max, and/or Arduino to create an Interactive Creative Coding project
2. Add three or more forms of interaction as described above
3. Produce your project so that it can be displayed or performed in an exhibition
4. Consider making use of projection, animation, Perlin noise, and/or data visualization/sonification
5. Be prepared to present or perform your work during the finals period
Lab 1: Let’s explore Max workshop style. Please be prepared by having the 30 day trial of Max installed on your computer.
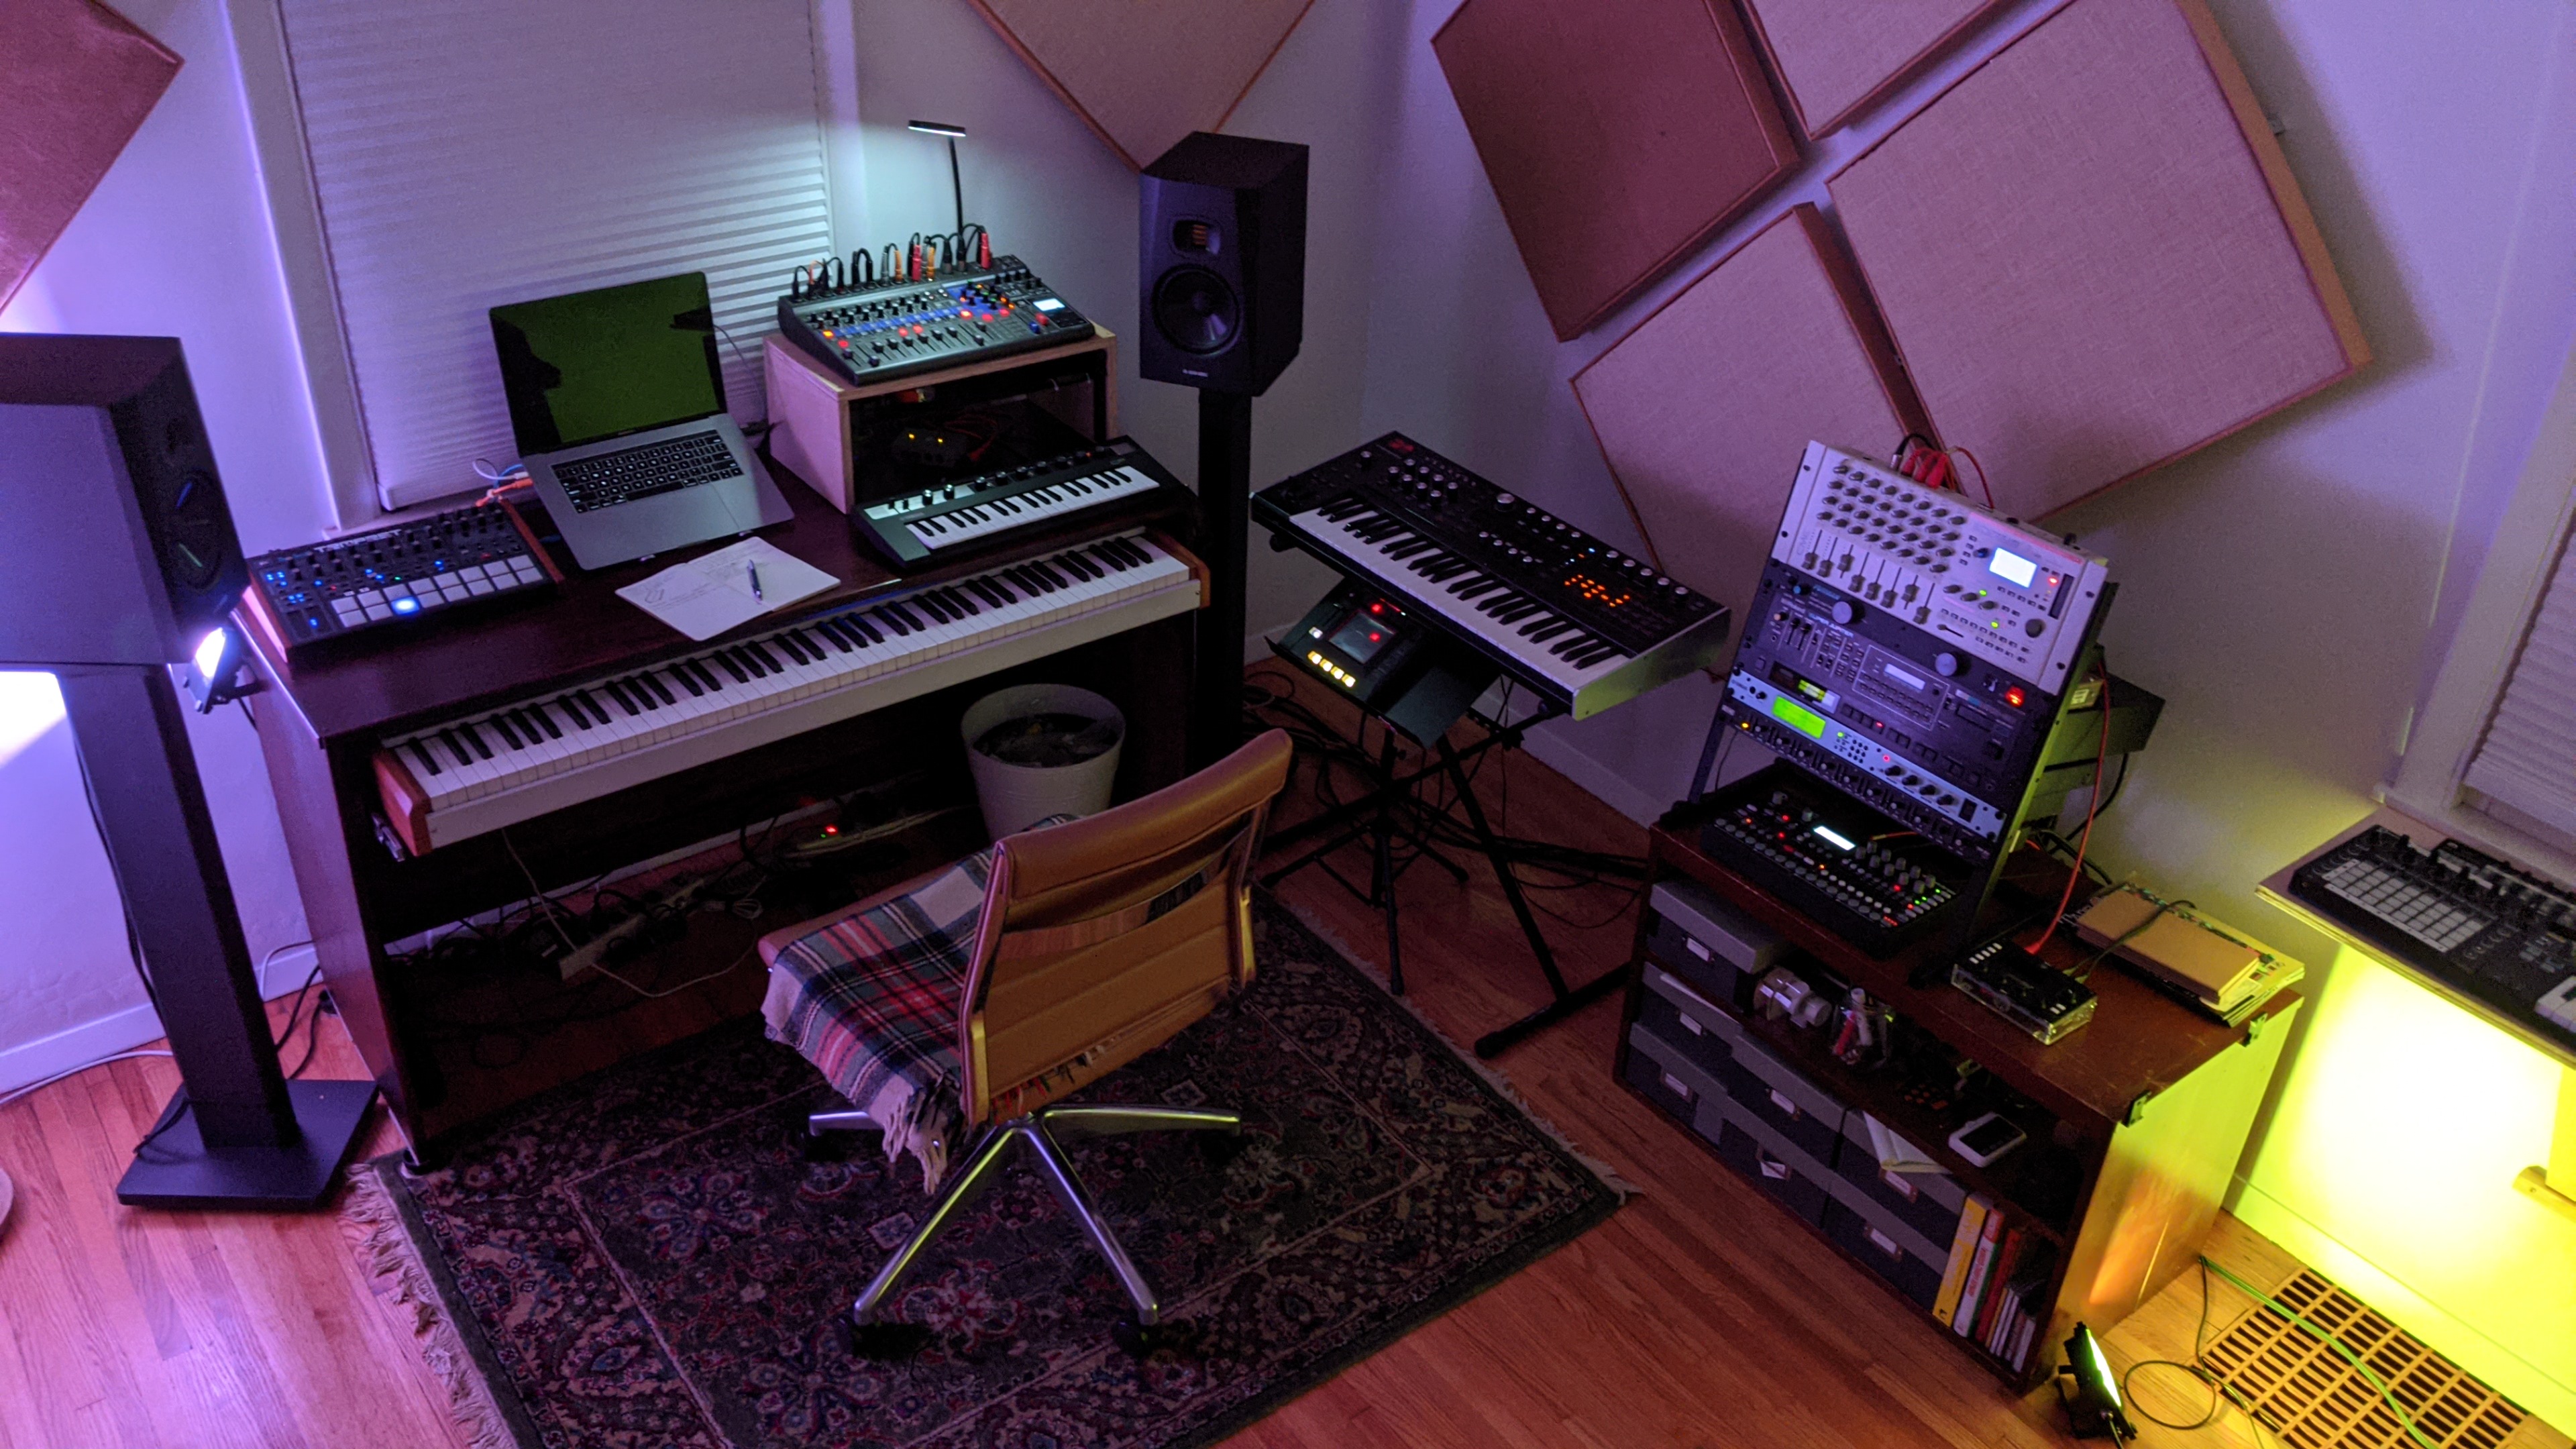
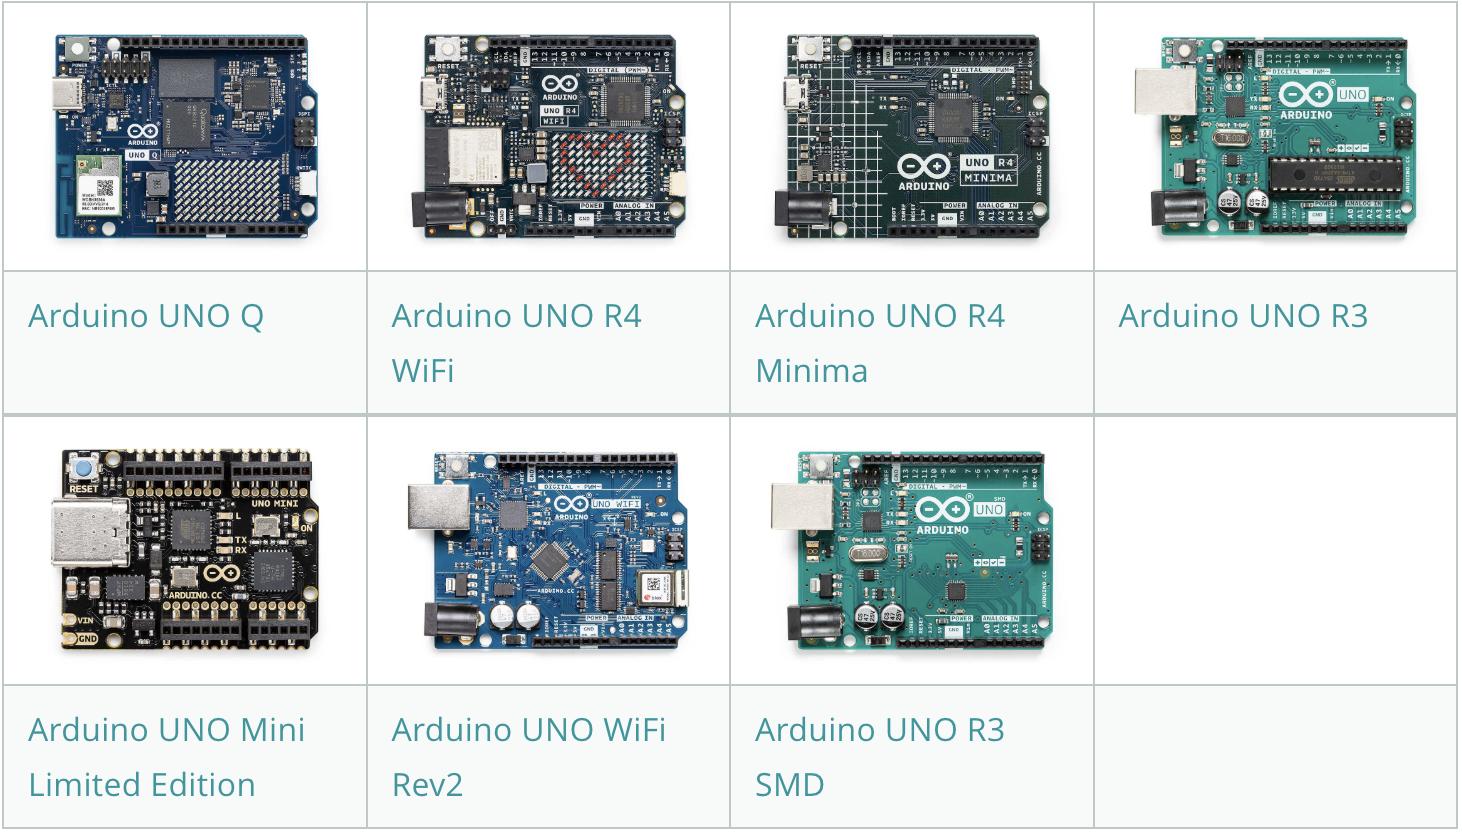
Session 2:Physical computing often involves working with analog sensors that can convert signals into realtime data using Arduinos or other micro-controllers. Most people refer to Arduinos as micro-controllers, but technically they are circuits that include a micro-controller with a collection of other components that make it possible to use them for all sorts of projects. There are many types of micro-controllers, but what makes Arduino special is that the platform is Open Source. This means anyone can build their own Arduino. All the specifications including circuit diagrams and software are freely available as downloadable files. Proprietary micro-controllers are closed and can only be made and sold by the copyright holder or licensee.
Lab 1: Today we’ll explore some Arduino expamples.
Session 1: Today we will continue looking at examples of physical computing projects. The last few weeks of class with be spent primarily helping each of you with your final projects in preparation for our Creative Coding Exhibition during the finals period. However, it is also a good time to examine a few examples of creative coding a little more closely. Let’s start with looking at examples from SYNTAX, a project that was presented at the 2022 International Computer Music Conference in Ireland this summer in collaboration with Mike Hodnick (AKA Kindohm).
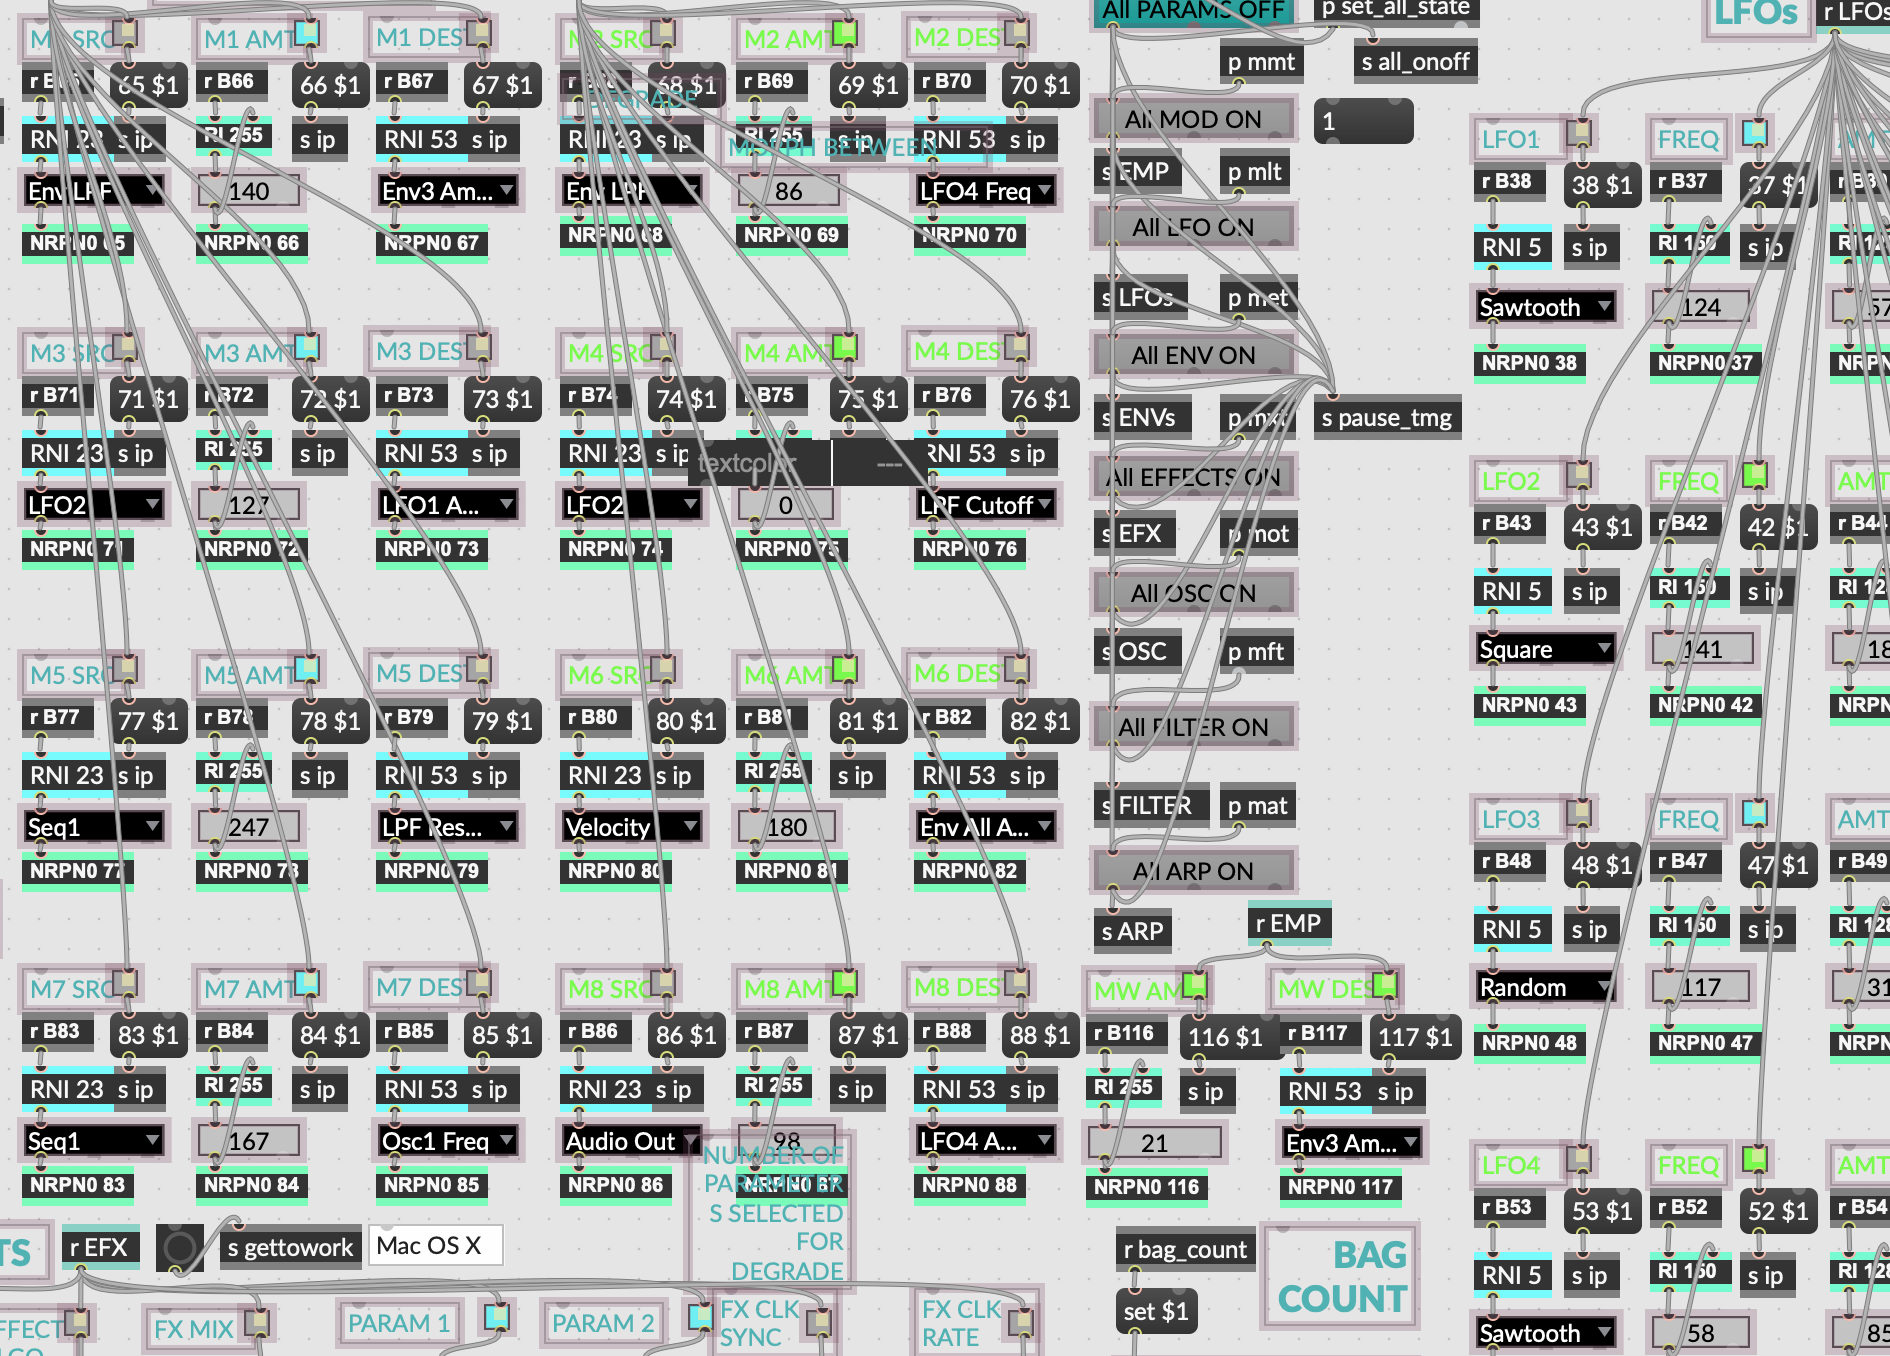
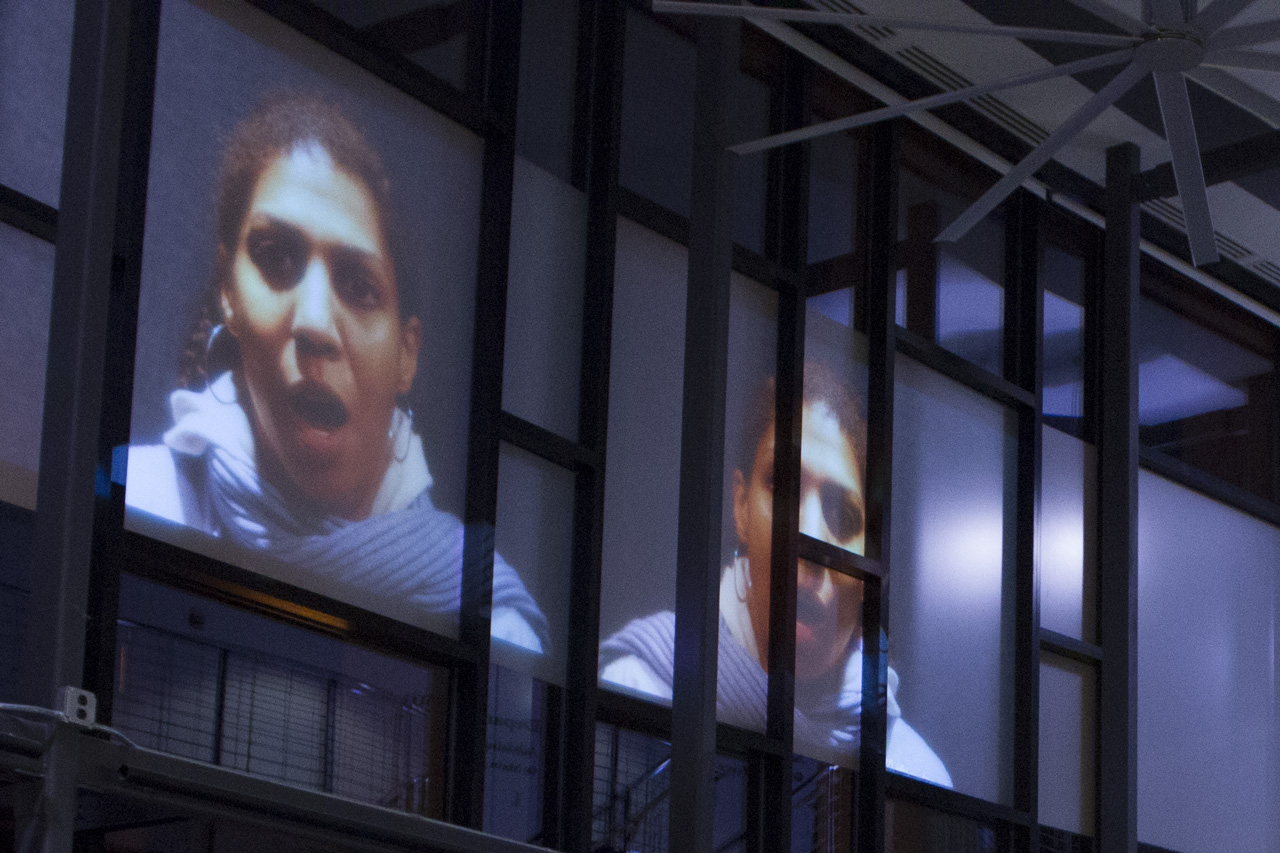
Session 2: Today we’ll examine more examples during lab time. Specifically we will look at the Audiovisual Grain Machine (AVGM) a performance tool I developed using Max. I have used AVGM for nearly a dozen performances in Prague CZ, Ireland, and the US. The software allows the performer to live loop and granulate (as in granular synthesis) audio and corresponding video in real time.
Lab 1: If you’re interested in using any example of machine learning for your final project, the best place to start is with ml5.js. This library has pre-defined models for hand tracking, body tracking, a face mesh, image and sound recognition. You can also train your own models for more specific tasks. Please be prepared to share your work in progress with small groups for critique and feedback.
Session 1: Today we will talk about the supplies available from Axman Surplus at 1639 University Ave W, St Paul, MN 55104. Axman is a great spot to find electronic parts for interactive projects. They also sell all sorts of weird odds and ends that might inspire ideas for your final project or just make you laugh. Here’s a quote from their website:
We’ve bought and sold scientific, industrial, electronic, and mechanical surplus in the Twin Cities area for 50 years. We also specialize in arts & crafts supplies, tape, failed consumer products, and the bizarre, weird & wonderful. We have a loyal following of local artists, tinkerers, engineers, makers, and freaks and geeks of all styles. We are also a popular store for teacher supplies and back-to-school items.
Things that might be useful to get from Axman include alligator clips, switches, pots, resistors, capacitors, diodes, LEDs, and/or sensors. You can also find soldering tools, multimeters, breadboards, and other components. Let’s also discuss the requirements for tomorrow’s in-person group critique.
Group Critiques #2
Due: Week 12, Lab 1
Meet in small group to demonstrate your work-in-progress and get feedback from your group members. Participation in the group critique requires in-person attendance.
1. Discuss the concept of your final project
2. Demonstrate one or more features of your work-in-progress
3. Share the resources you have found and applied to your work
4. Suggest ideas, improvements, and resources to your classmates
Lab 1: In class group critiques. Today will be reserved for required in-class group critiques.
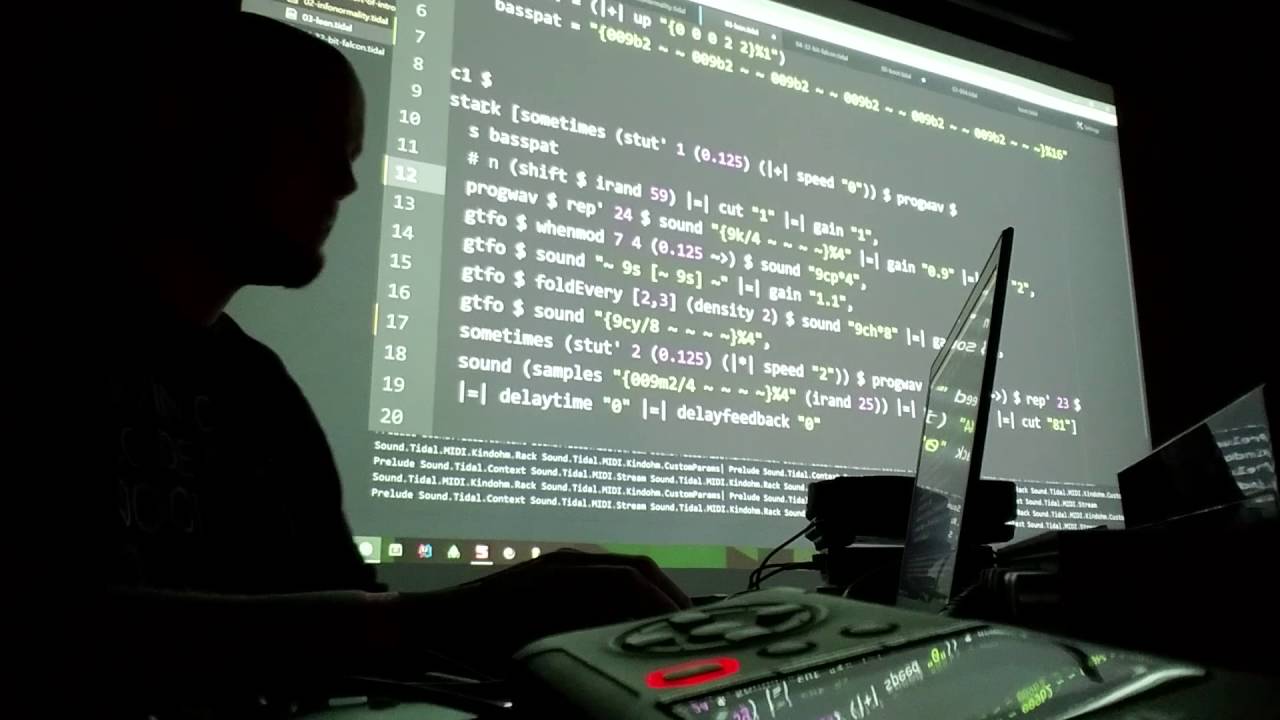
Session 2: Musician Mike Hodnick (AKA Kindohm) will be joining us today to share some of the philosophies and techniques he uses in his Live Coding sets, especially TidalCycles. In-person attendance is required to get credit for experiencing the guest speaker.
Thanks to Duran Carlson for sharing the video above as another example of TidalCycles in use.
Lab 2: Please be prepared to share your work-in-progress with me for feedback and questions.
Session 1: This week let’s take a look at more examples of approaches to creative coding. Today we will take a quick look at paperjs, which is a library designed to make coding vector graphics more accessible.
Paper.js is an open source vector graphics scripting framework that runs on top of the HTML5 Canvas. It offers a clean Scene Graph / Document Object Model and a lot of powerful functionality to create and work with vector graphics and bezier curves, all neatly wrapped up in a well designed, consistent and clean programming interface.
Lab 1: Today is an open lab in preparation for group critiques scheduled for Lab 2.
Session 2: In addition to p5js and paperjs there are lots of other available JavaScript libraries that lend themselves well to creative coding projects.
A-Frame.io – JS library For building 3D/AR/VR experiences Tone.js – Web Audio framework for creating interactive music Three.js – A library to make WebGL more accessible Pts. (points) – A lightweight library for visualization and creative coding Web MIDI API – Article for getting started with the Web MIDI API
On the physical computing side of things there are many websites that host tutorials and offers sales of electronic components to help artists with their creative coding projects. These include the following:
SparkFun – Components focused on creative coding and Arduino Adafruit – Creative Coding component specialists Instructables – Explore, document, and share your creations Mouser – Globally authorized distributor electronic components DigiKey – Minnesota based electronic outlet
Lab 2: Please be prepared today for our third in-person group critiques.
Session 1: This week we will use our time to wrap up the development of our projects for the exhibition.
Lab 1: Open lab day
Session 2: Our group exhibition is during our finals period. Tomorrow we will meet in group critiques for final feedback on your projects before the exhibition.
Lab 2: Today are our final group critiques. Also, please take a few minute to complete the IDEA survey for this class at https://stthomas.edu/idea.
Supplemental materials for courses taught by John C.S. Keston at the University of St Thomas