Session 1: This week will will be focusing on the details of audio production using Adobe Audition. We will be discussing mixing layers of audio and processing sound using automation. How to adjust signal levels, prevent clipping, noise reduction, signal flow, equalization, solo/mute, and routing audio to effect buses and the master track will be some more of the the topics we’ll be discussing. Exercise 3 is designed so that you can practice these techniques.

When we make recordings or amplify sound the signal travels through various stages of electronics before it is output or converted to bits and stored in electronic memory. The journey the sound takes is called signal flow. A simple example is microphone to XLR cable to mixer gain stage to mixer eq to mixer mains to power amplifier to monitors. Each stage has an audible impact on the signal until it is reproduced. These impacts can result in good or bad consequences!
Exercise 3: “Signal Processing Experiments”
Due: Session 2, Week 5 (8 points)
Description:
For this exercise we will begin to make use of signal processing to improve the realism and believability of incidental and ambient sounds. This is also the last time that we will rely on pre-recorded sound effects. Use FreeSound.org to find footsteps, wind, a door closing, and a fourth event of your choosing (water pouring, breathing, breaking dishes, etc.). Produce and layer the sound effects to sonically illustrate the following scene:
As wind howls, footsteps move across a room from left to right and stop just before a door is slammed shut. As soon as the door closes the wind noise dies down considerably. The footsteps then move away and to the left where a final sound occurs. Perhaps the character trips and falls, or breaks a glass. The end of the story is for you to decide.
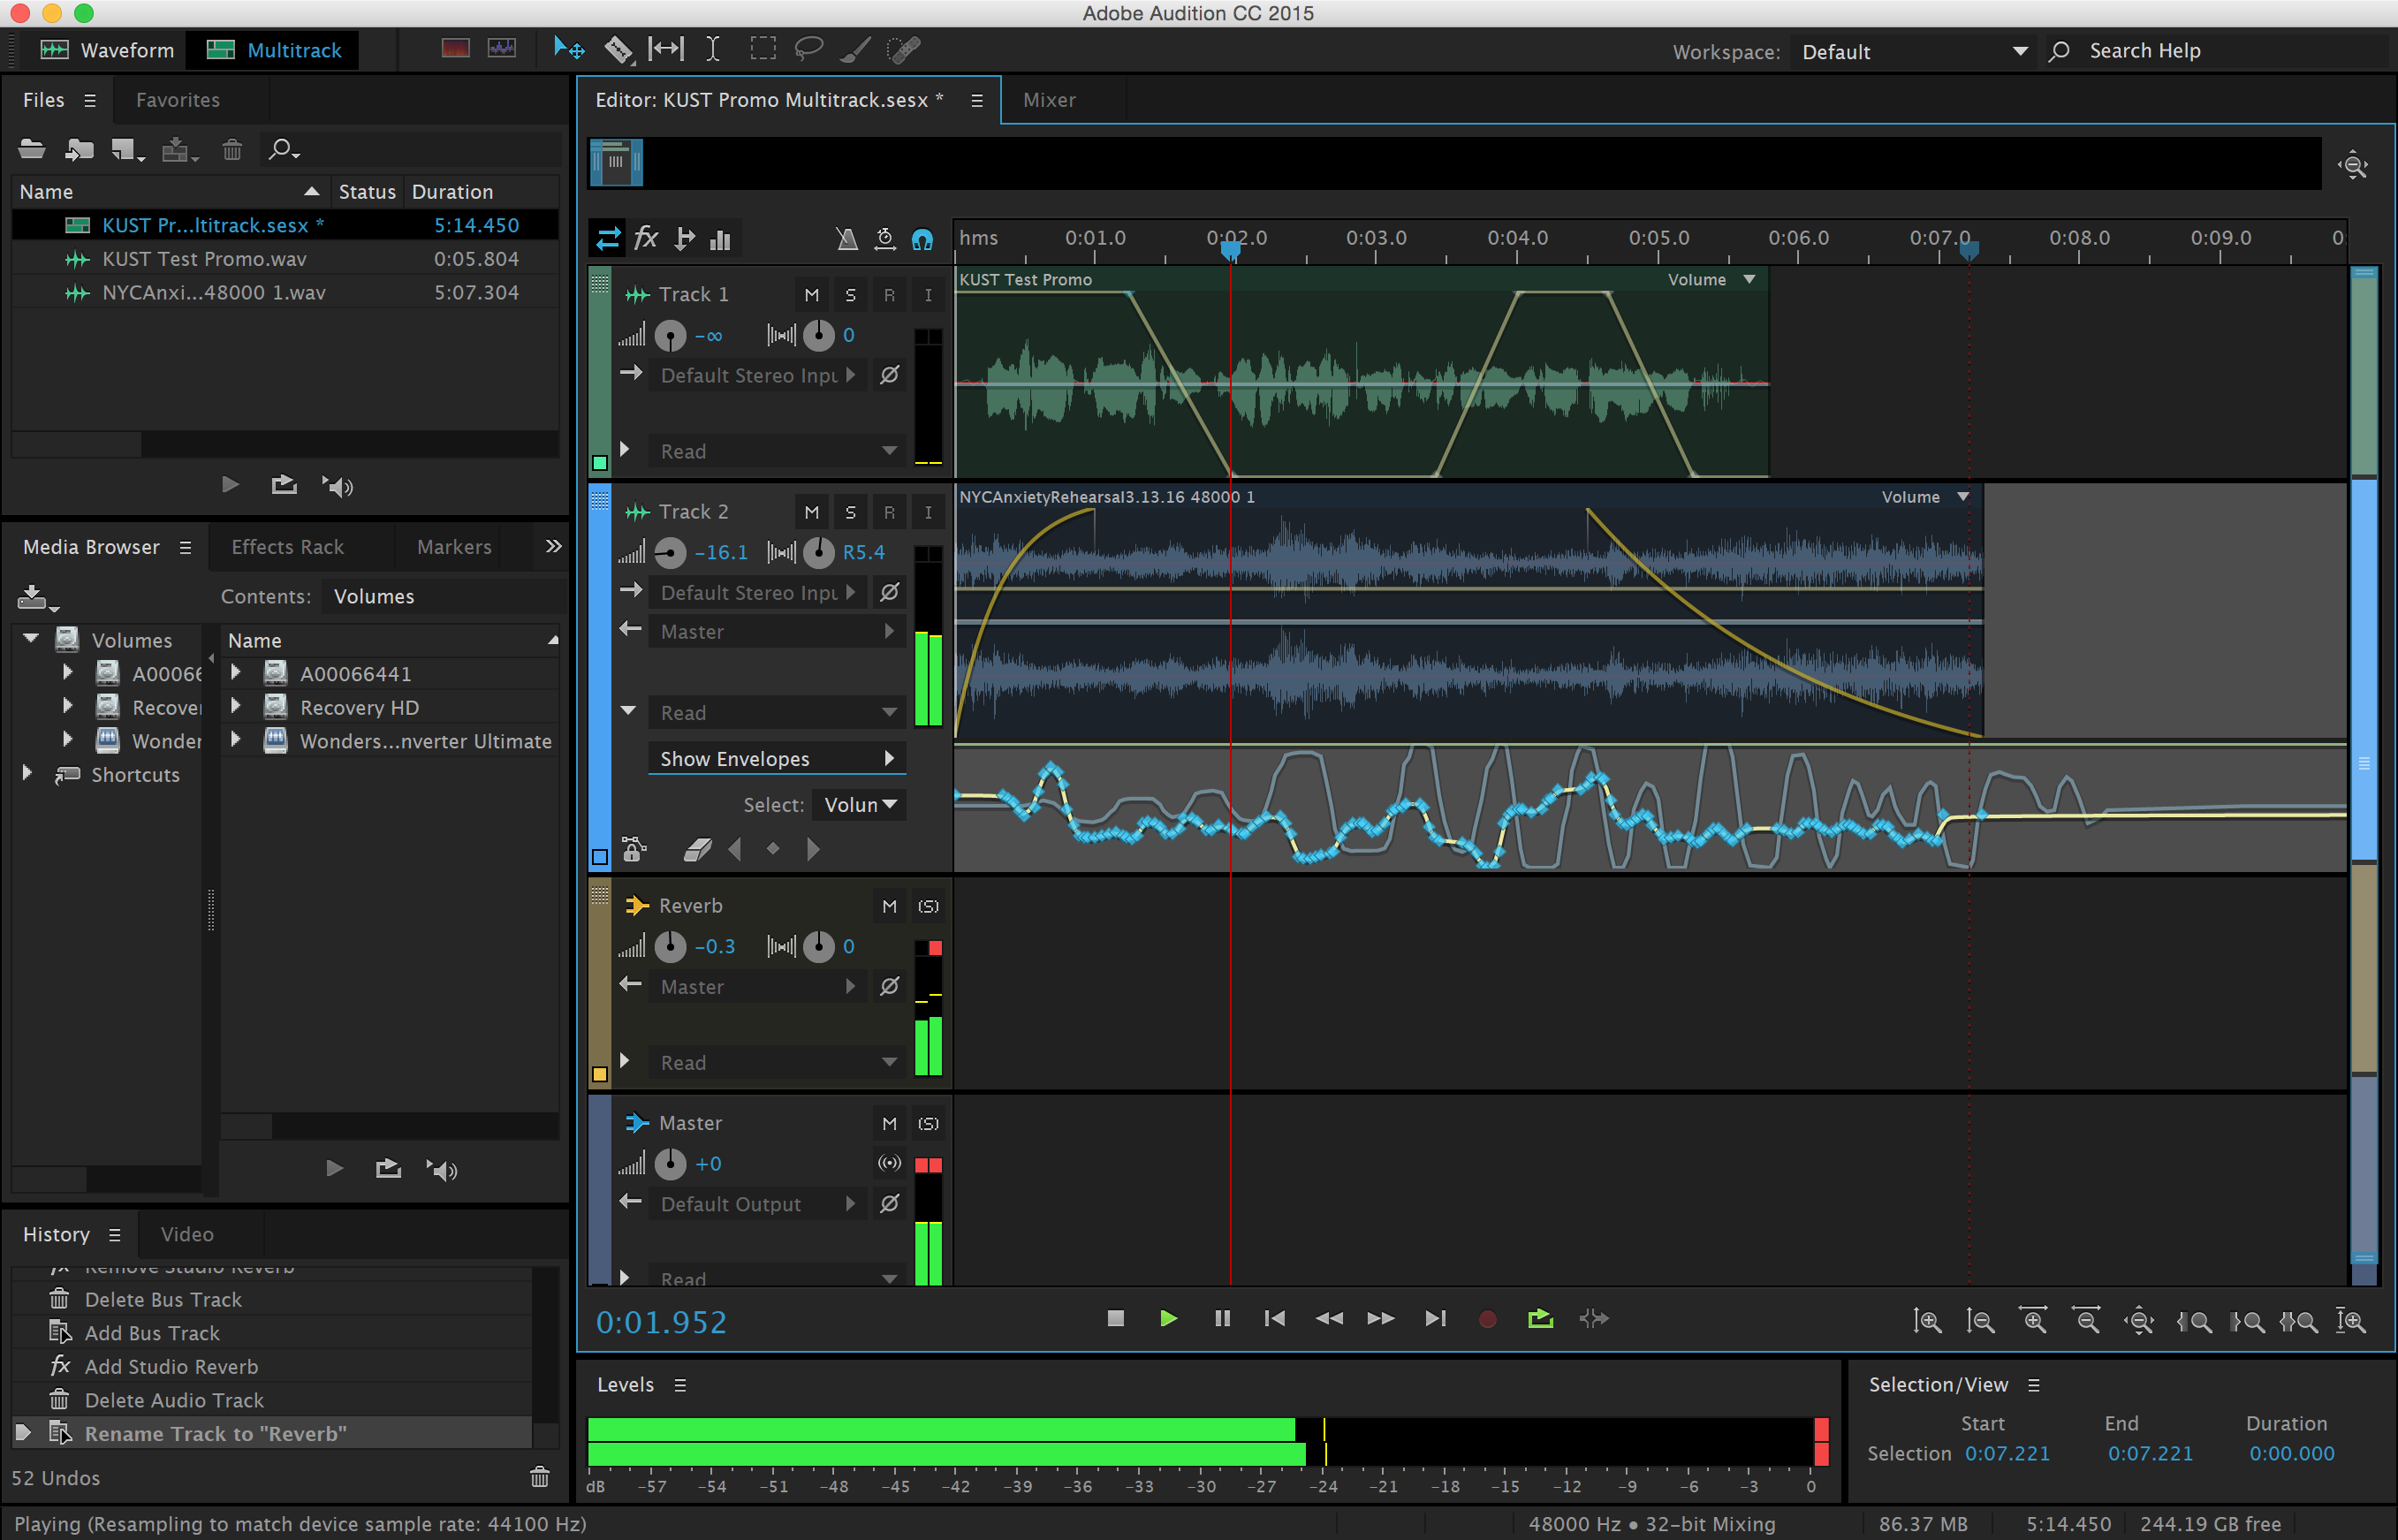
In order to achieve the scene, panning, volume, and reverb automation will need to be applied. It will also be necessary to layers multiple tracks of audio because the footsteps, wind, and door shutting will all have to play at once. See the demo videos for instructions on applying automation in Adobe Audition to a multitrack production.
Requirements:
1. Collect the recordings required for the scene from FreeSound.org
2. Arrange the sounds into layers that sonically illustrate the scene
3. The piece should last no less that 20 and no more than 30 seconds
4. Use automation in Adobe Audition to pan, mix, and spatialize the layers
5. Add an ending sound of your own choosing to finalize the piece
6. Render the audio to a stereo .wav and upload to Canvas before class starts on Week 5, Session 2.
Points Breakdown:
2 points are awarded for arranging the recordings into the scene
3 points are awarded for processing the tracks using automation
2 points are awarded for getting the sounds to work well together
1 point is awarded for finding an interesting closing sound

Session 2: What are dynamic microphones and how do they differ from condenser mics? How do you choose the right mic for the right situation? How do microphone polar patterns effect he response of the mic? These are some of the questions we’ll be answering during lecture. After lecture we will be demonstrating the audio qualities of some of the different microphones that are available for checkout by making some test recordings. Ironically microphone technology has changed little since the 1950’s. In fact vintage microphones are often hoarded by engineers looking for particular characteristics. In contrast recording technology has changed dramatically since digital recording was introduced in the late 70s, and as computer processors get faster and digital storage becomes more economical.
Knowing about the different types of microphones and how to use them is crucial to engineering high quality audio recordings. Dynamic microphones such as the Shure SM58 and SM57 are very durable and excellent for recording loud signals such as close miked drums, guitar amps and so on. More sensitive condenser mics such as the Shure KSM32 or AKG c4000b are excellent for capturing the nuances in voices and quieter acoustic sounds. Vintage ribbon microphones are sought out for detail in the high frequency range, but they are delicate and can be damaged by phantom power. Modern ribbon mics are more durable.
Other mics include lavaliers or “lapel mics” that are small condensers typically attached to clothing for recording voice during interviews and television broadcasts. Ambisonic and binaural microphones capture sound in three dimensions.
Reading:
Microphone Reading Assignment
Now that you have a basic understanding of microphones it’s time to start experimenting with them. This brings us to the Field Recording Project. Many factors complicate recording sound in the field. Ambient sounds, wind noise, weather, dead batteries, and equipment malfunctions are just a few. Always have extra batteries for the recorder and any mics that need them. Consider having a backup field recorder and microphones for when things break. Bring wind screens and blimps to suspend shotgun mics. Be aware of phase cancellation when recording in stereo! Use the XY technique to prevent phase cancellation.
Project 1: “Field Recording Library”
Due: Session 2, Week 6 (10 points)
Description:
Use the Tascam DR-40 field recorders to record five incidental sound effects and five stereo ambient sounds each. Seek out sounds that are unlikely to be duplicated by your classmates. Think of unique environments that you frequent or encounter on occasion. Feel free to manufacture the incidental sounds by striking, dropping, or rolling objects. Be creative. You may use your own voice to create effects. Shutting doors, stomping on floors, breaking glass or hammering on pots and pans are a few examples of creating sound effects.
Work with a partner so you have an extra set of hands and ears to capture your recordings, but do not submit the same recordings as your partner. Trim the ambient sounds to between 10 and 20 seconds. Your incidental recordings will each be under 10 seconds long. Compress all ten .wav files into a .zip archive and upload them to Canvas before class begins on Session 2, of Week 6. We will be listening to some of the sounds that you have recorded in class.
Insure the quality of your recordings by doing the following:
1. Monitor the recordings as you make them using your circumaural headphones to make sure they are not too quiet, not distorted at all, and not capturing wind noise.
2. Use windscreens (sometimes called dead cats or blimps) on your microphones when outside, even if there’s very little wind. The microphone diaphragms will create significant unwanted noise and distortion at the slightest amount of wind. Walking while recording without a windscreen may even cause too much wind.
3. Make sure that your recording levels do not exceed 0db causing unwanted distortion. This can be done by viewing the meters on the DR-40. It is also possible to hear distortion while monitoring your recordings on headphones, but this may be difficult and requires practice.
4. Get as loud of a recording as possible without distortion (exceeding 0db). If your recording is too quiet you will have to boost it afterward thereby reducing the bit depth and dynamic range of your recording. Boosting your recording also means that you will be making any noise that was captured in the recording louder, further reducing the quality.
Requirements:
1. Record five incidental sound effects of your own with your partner
2. Record five ambient environmental sounds of your own with your partner
3. Edit each incidental sound to 10 seconds or less in length
4. Edit each ambient sound to between 10-20 seconds in length
5. Write two to three sentences about why you chose the sounds and how you recorded them on Canvas
6. Upload the edited and zipped files to Canvas before class starts on Week 6, Session 2.
Points Breakdown:
3 points are awarded for presenting interesting incidental recordings
4 points are awarded for presenting interesting ambient recordings
3 points are awarded for editing and describing the sounds
Relevant Resources:
Tascam DR-40 Field Recording Kit User Guide
Tascam DR-40 Manufacturers Owners Manual